How to Create a New ACH Batch
An ACH batch is a group of one or more electronic transactions that you send together through the Automated Clearing House (ACH) network.
These transactions can be used to pay employees, collect rent, pay vendors, or move funds between accounts. This guide will walk you through the steps to create a new ACH batch in your business online banking, from naming your batch and selecting the correct settings to adding recipients and saving the batch for future use.
1. Navigate to ACH
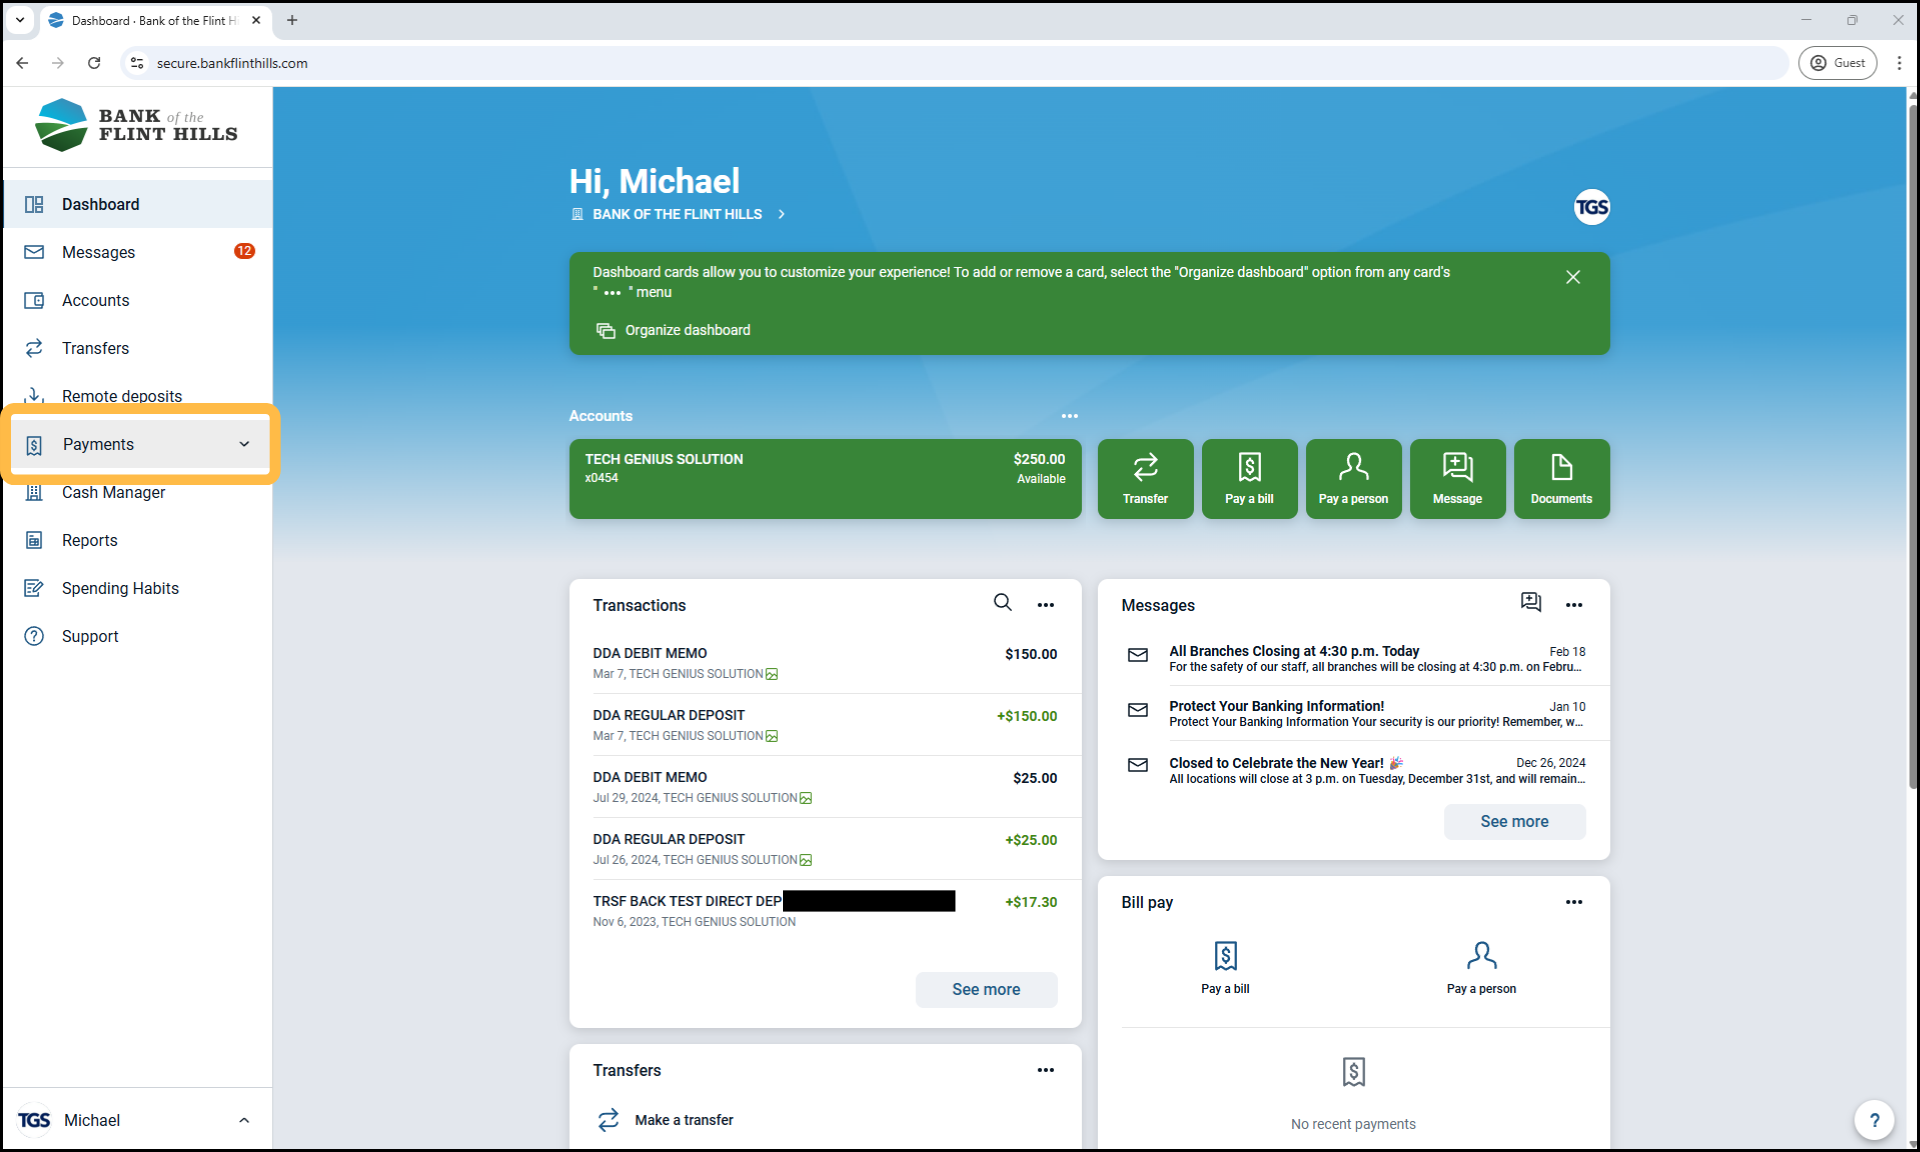
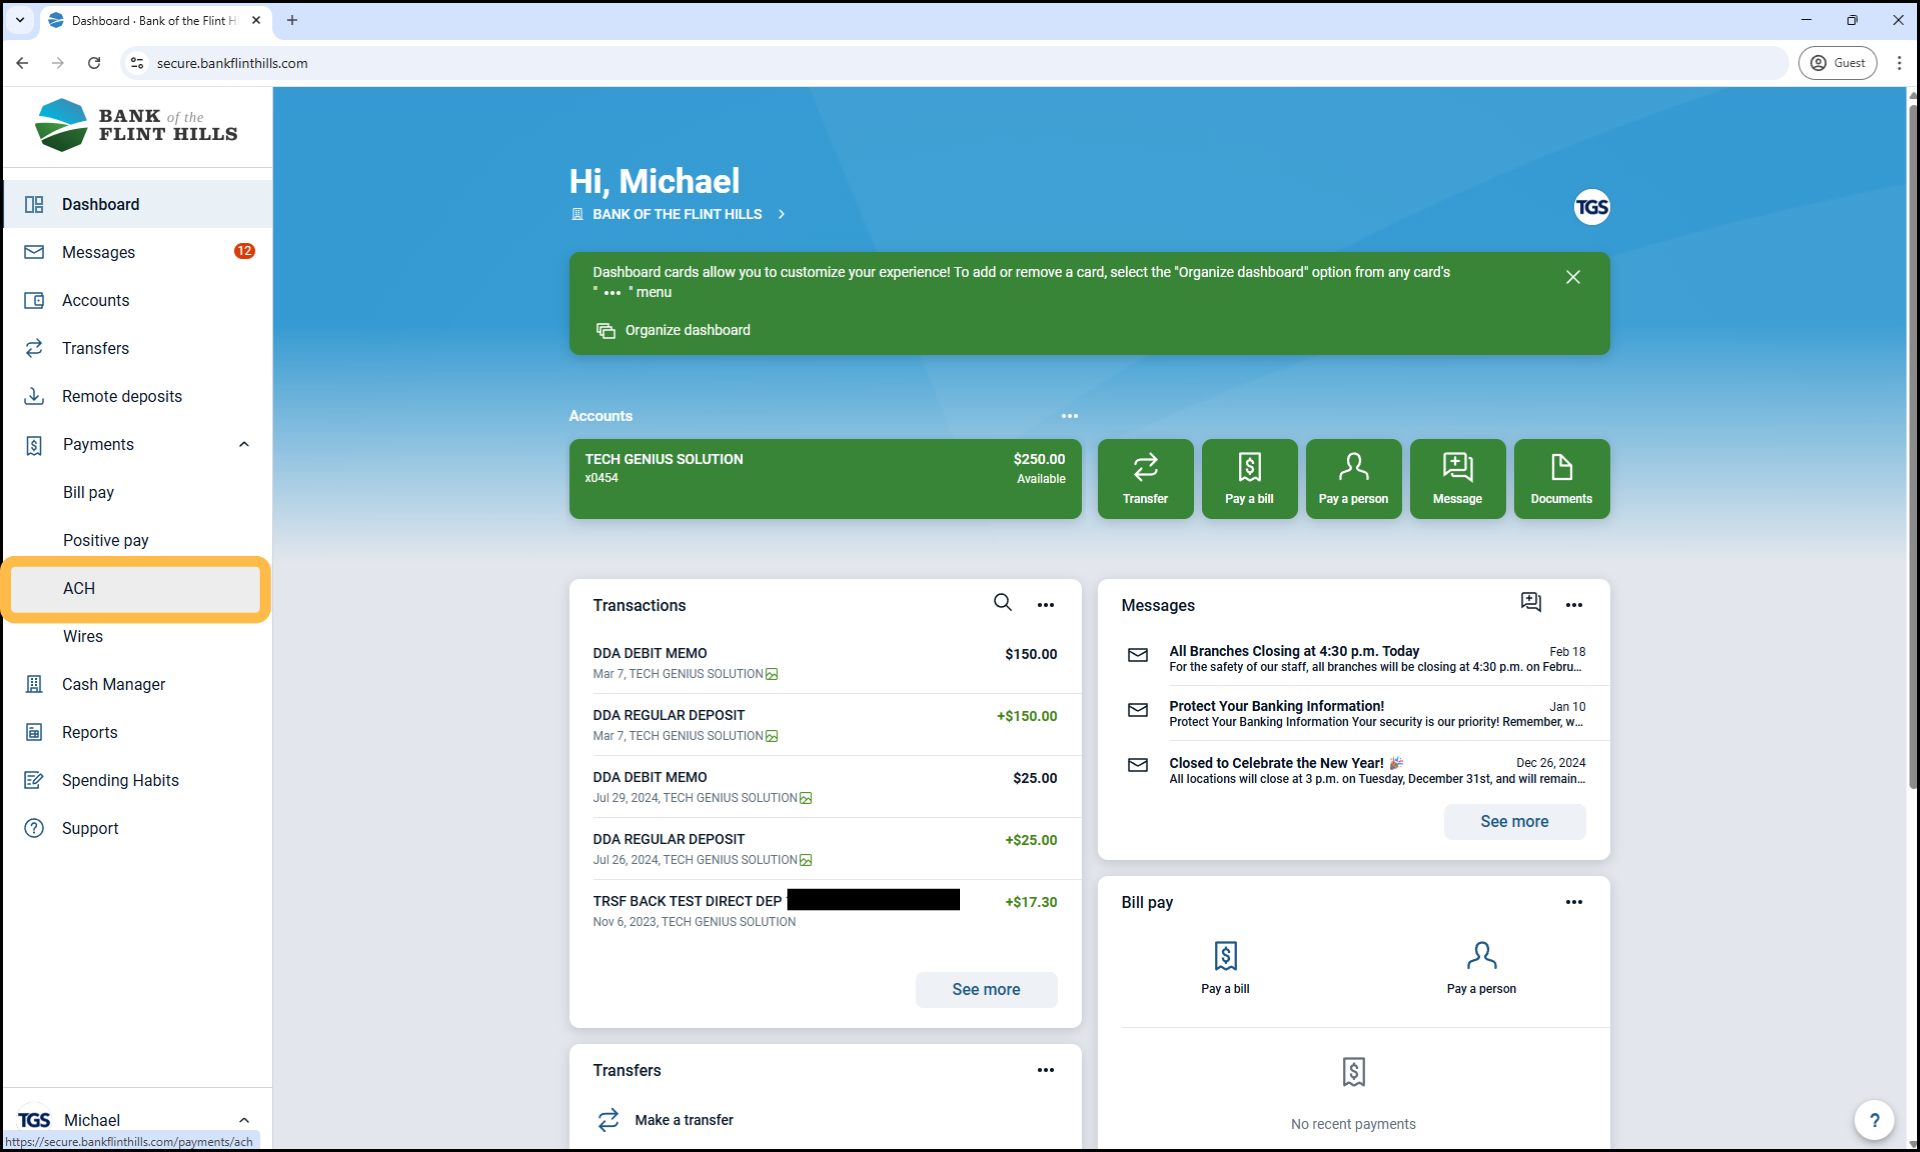
From the dashboard, select the 'Payments' drop-down menu, then choose 'ACH'.
Note: If your business only has ACH enabled, it may appear directly in the main menu rather than under the 'Payments' section.
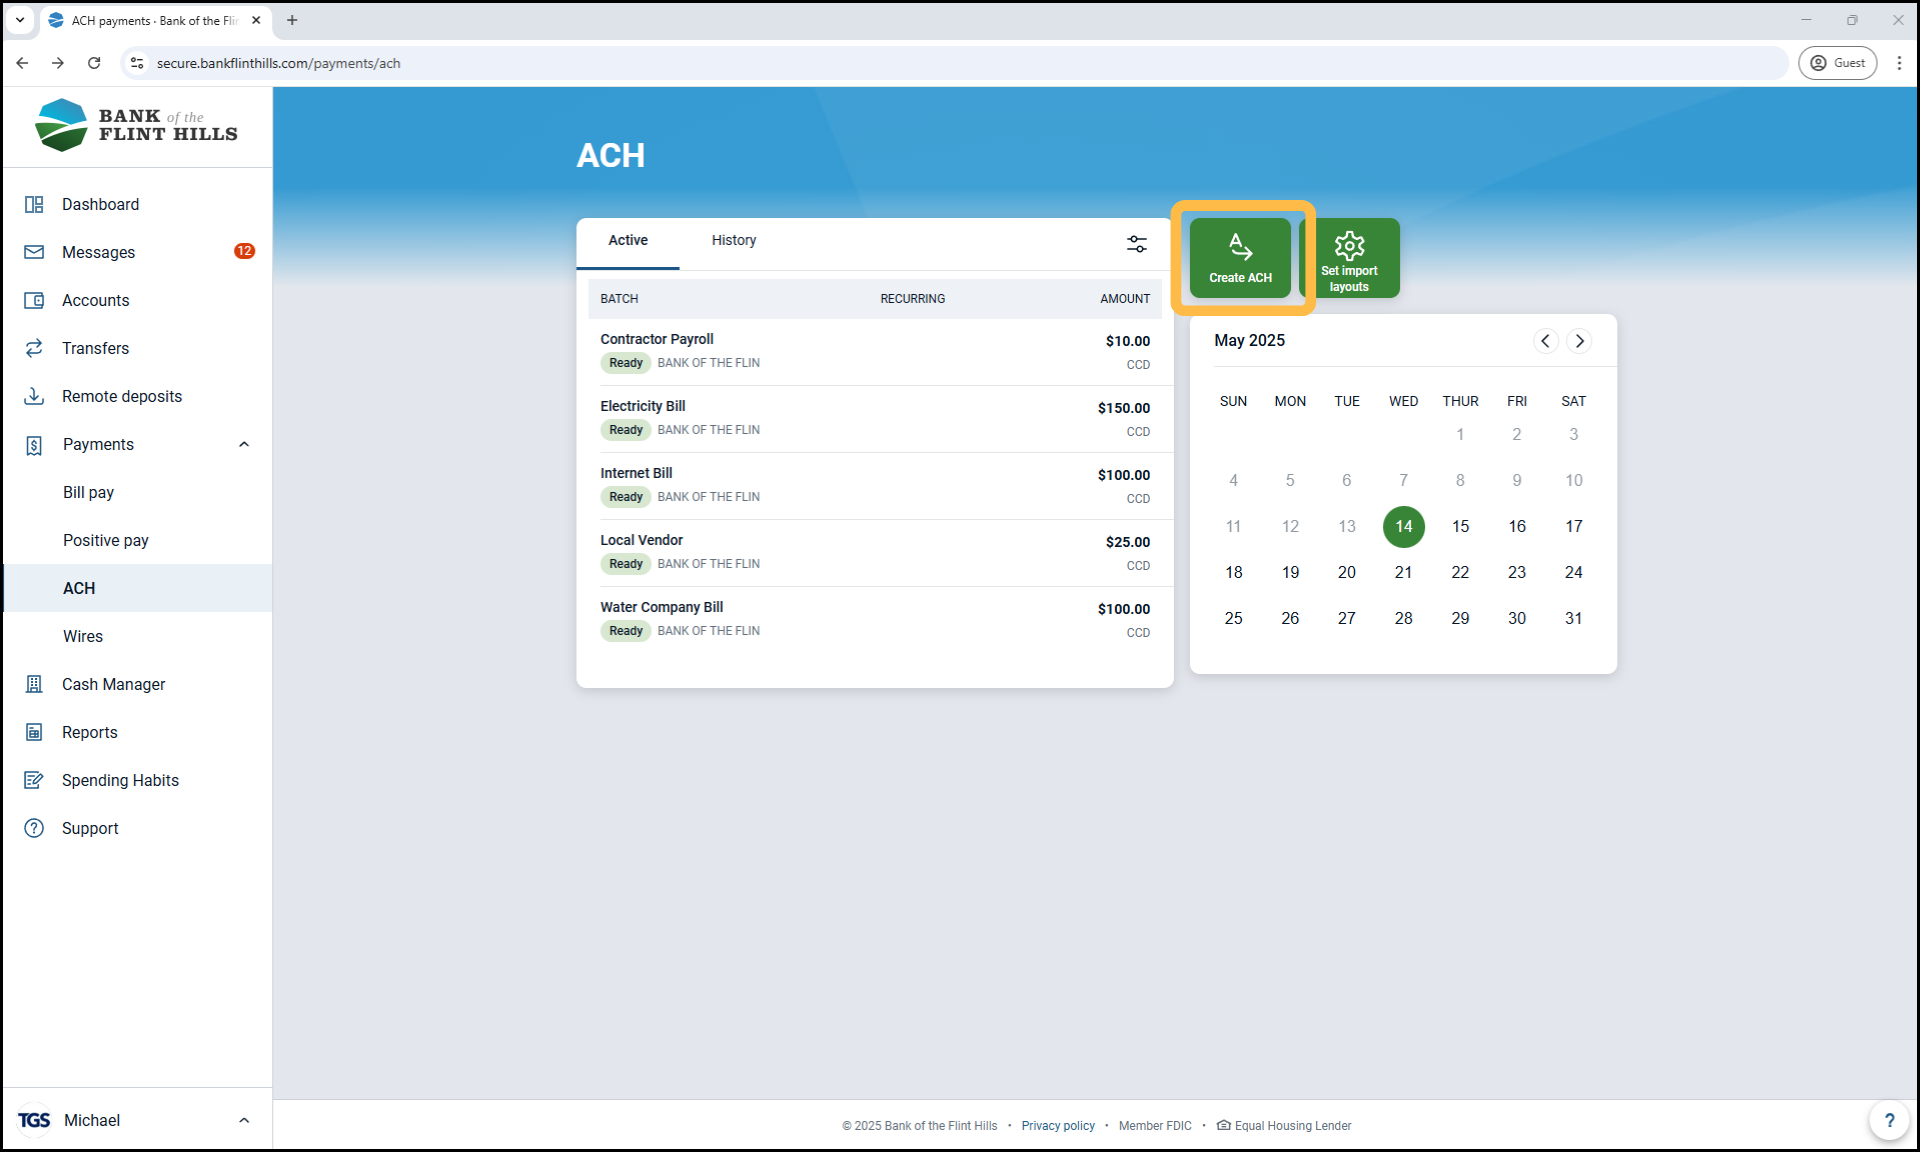
2. Click 'Create ACH'
This opens the setup screen to build your new batch.
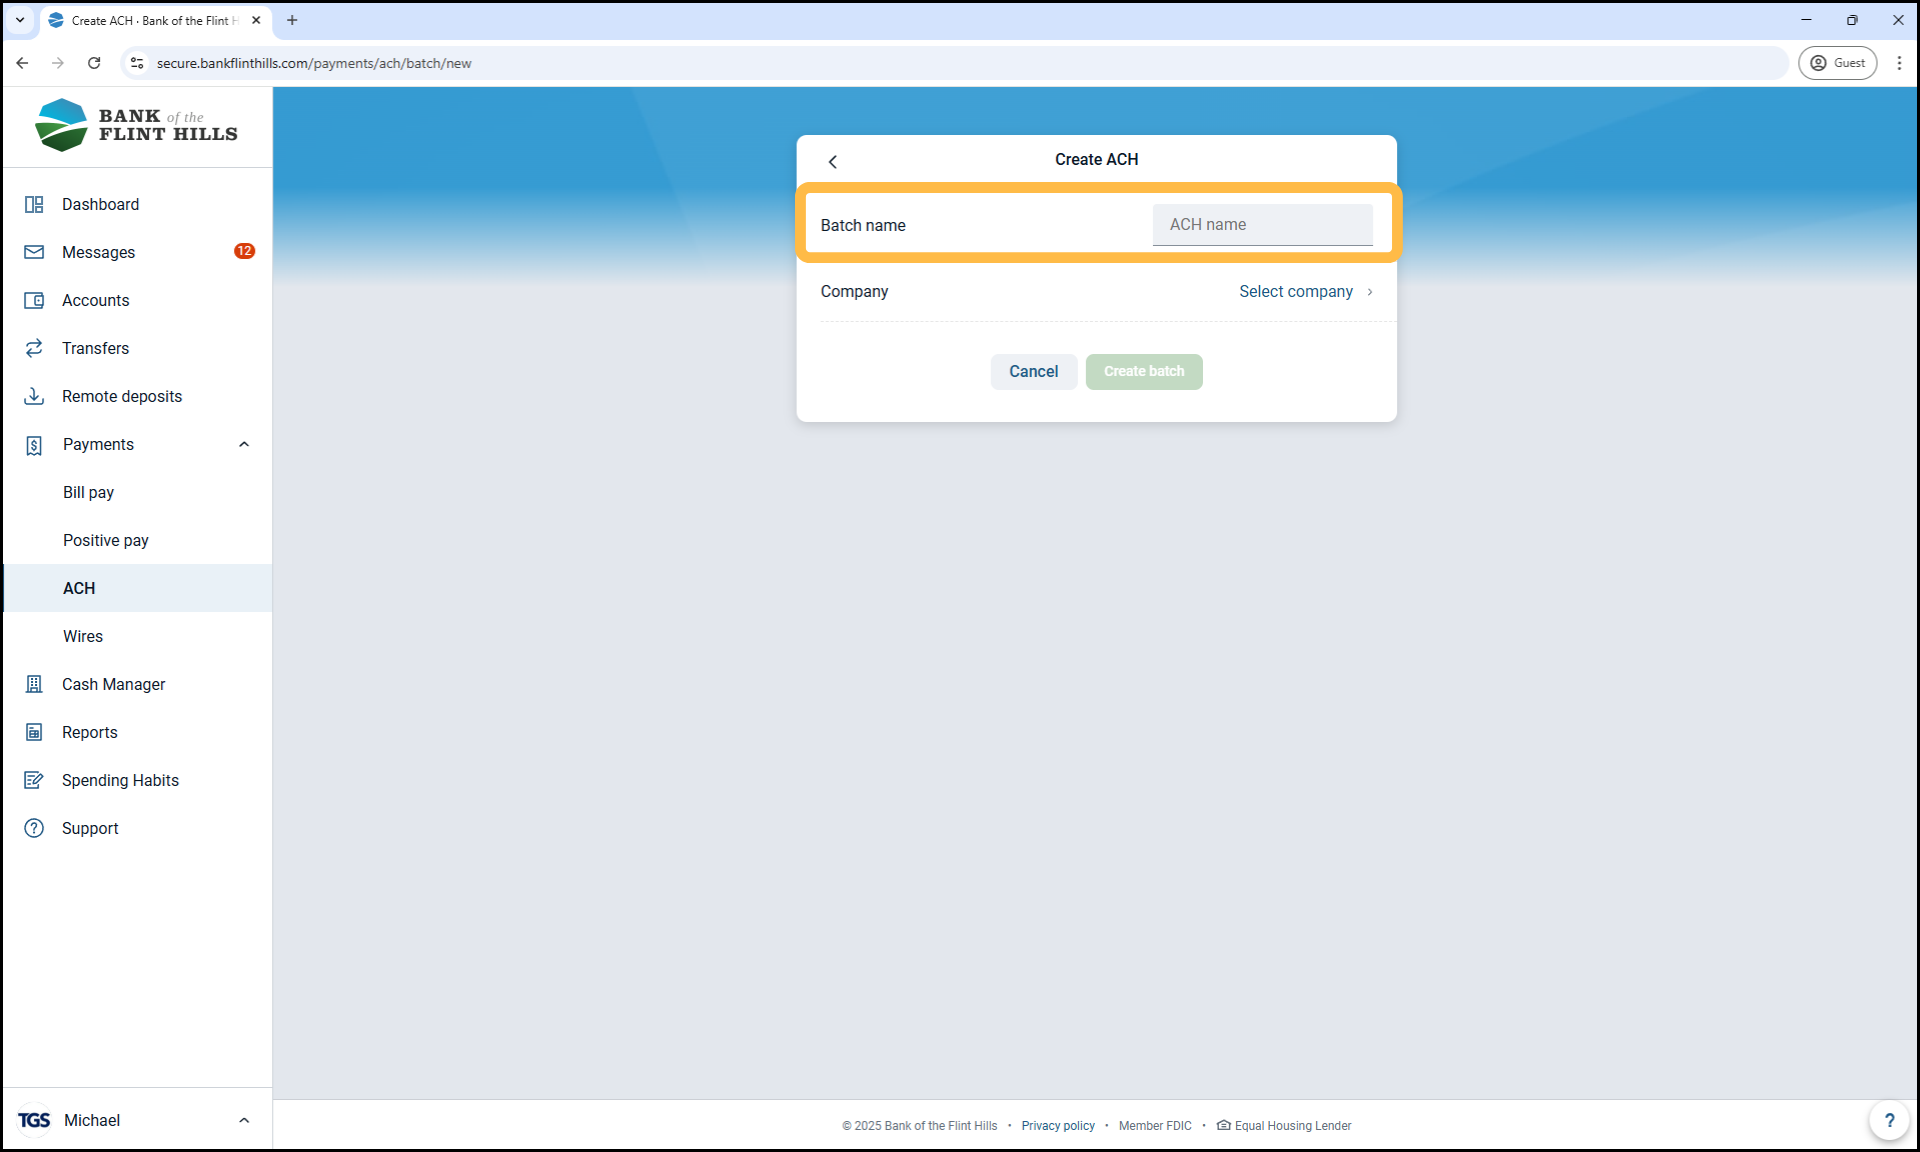
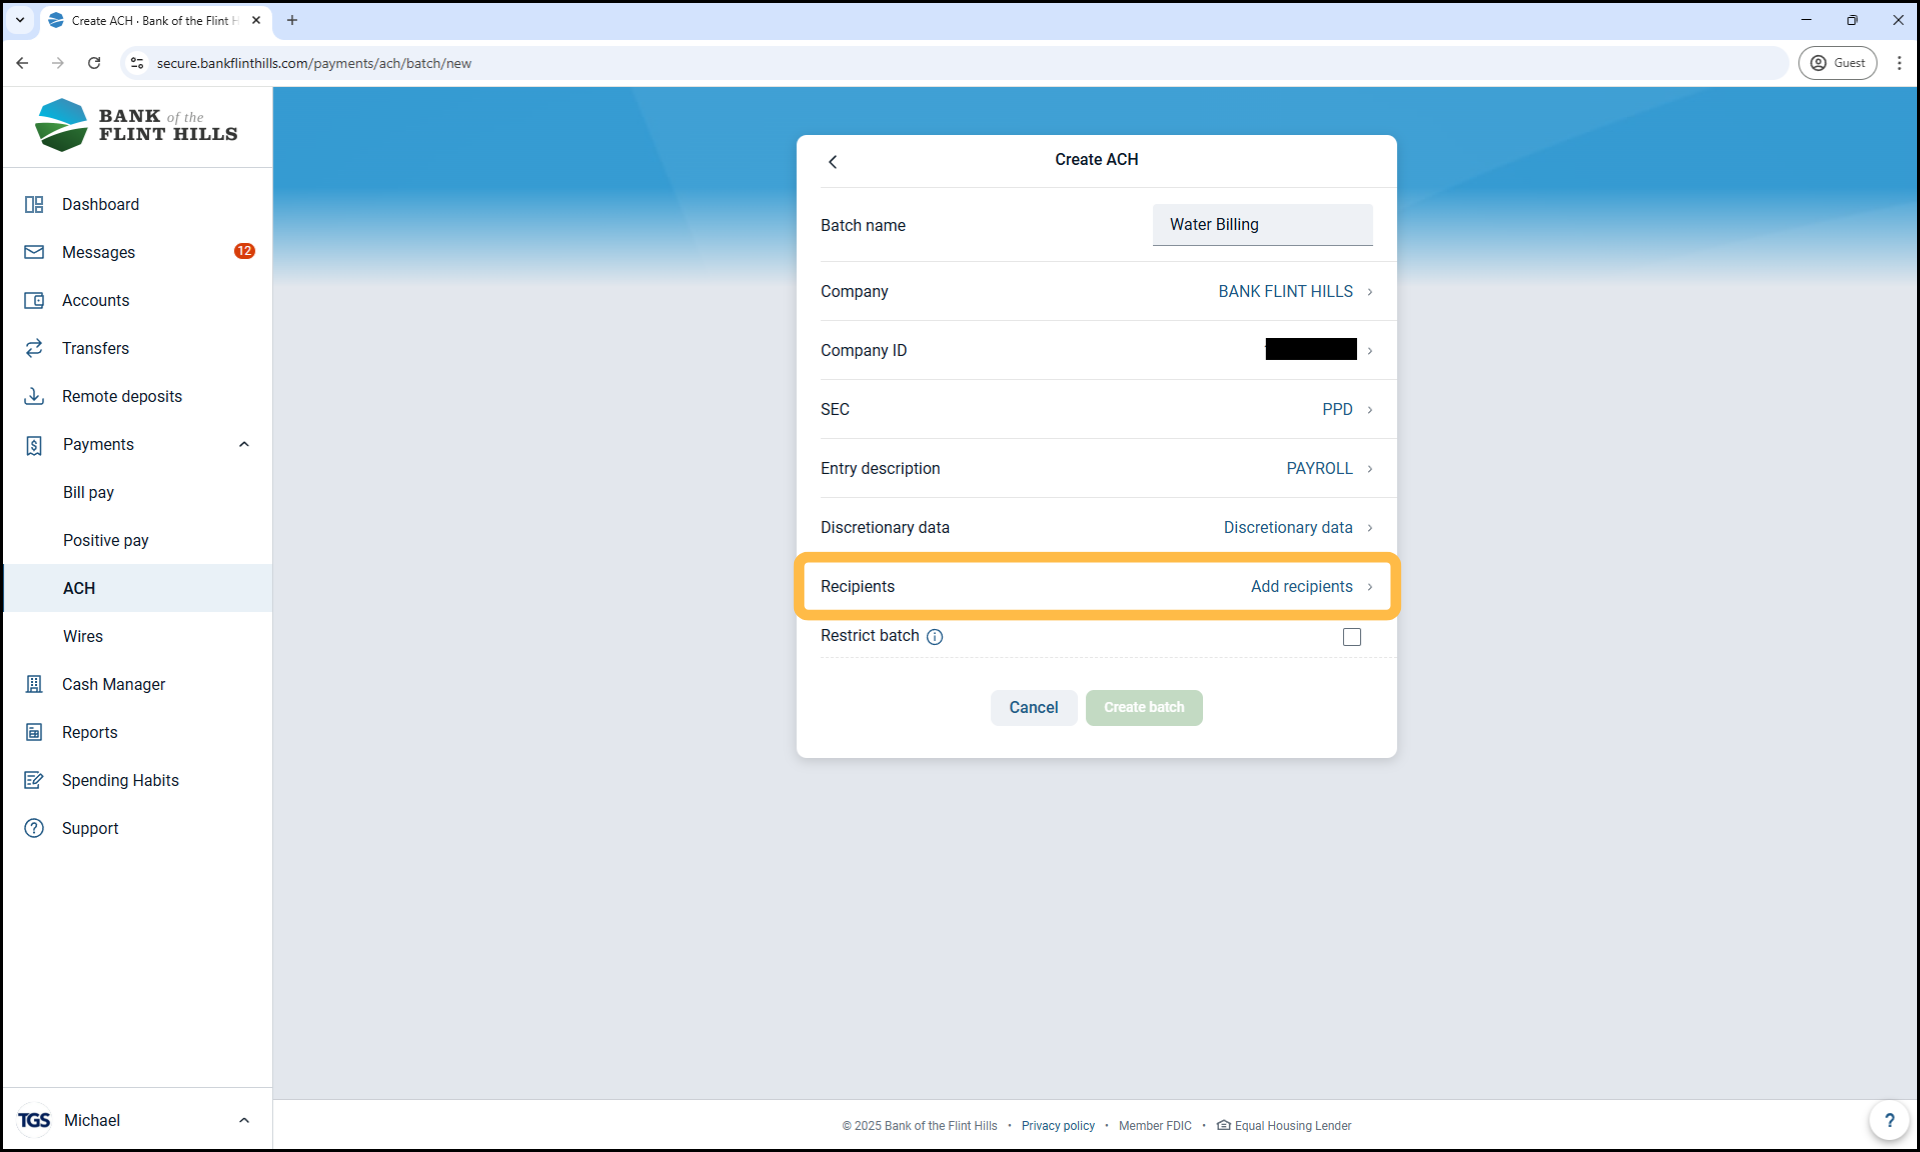
3. Enter a Batch Name and Select a Company
Batch Name: This is an internal label to help you recognize the batch later. Choose something descriptive like 'May Payroll' or 'Vendor Payments 5/14'.
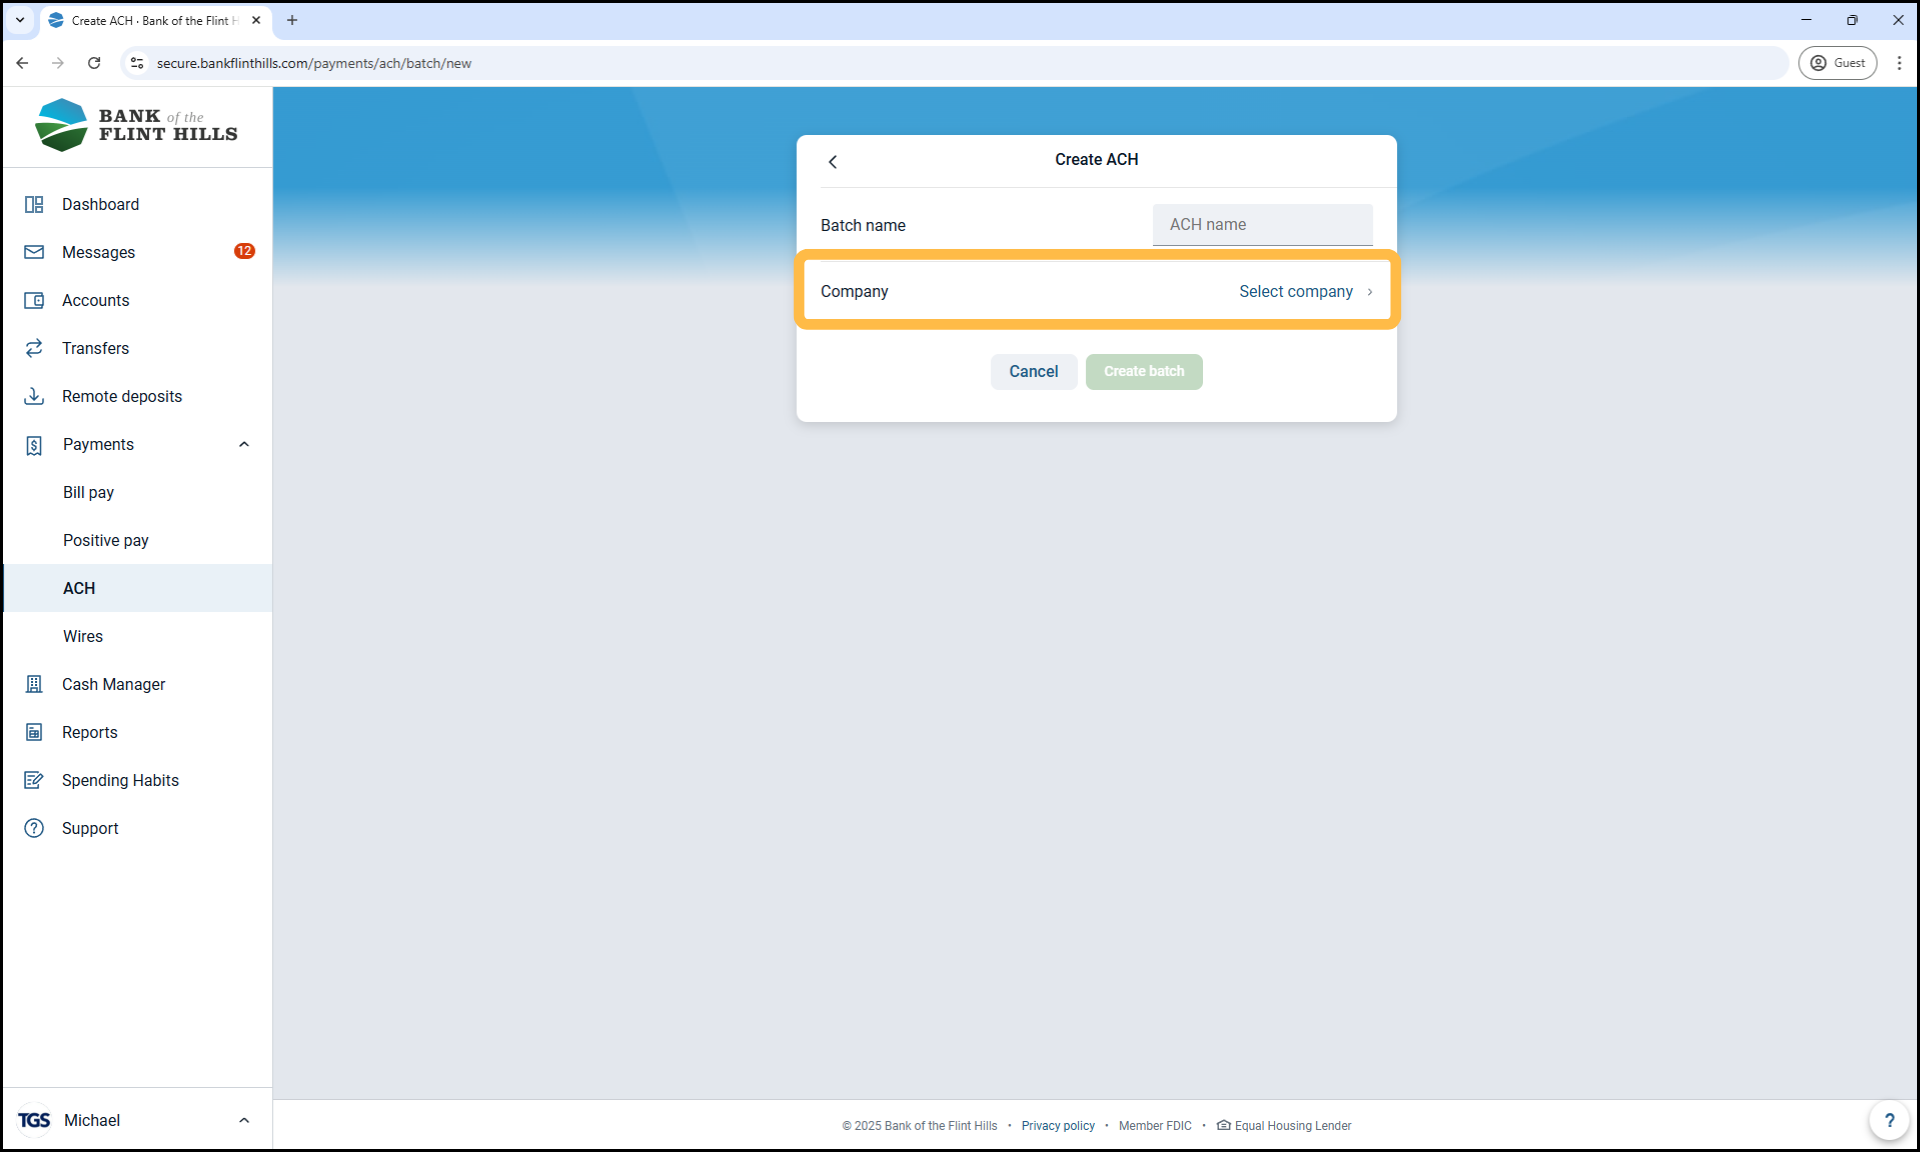
Company: Select the appropriate company from the dropdown list.
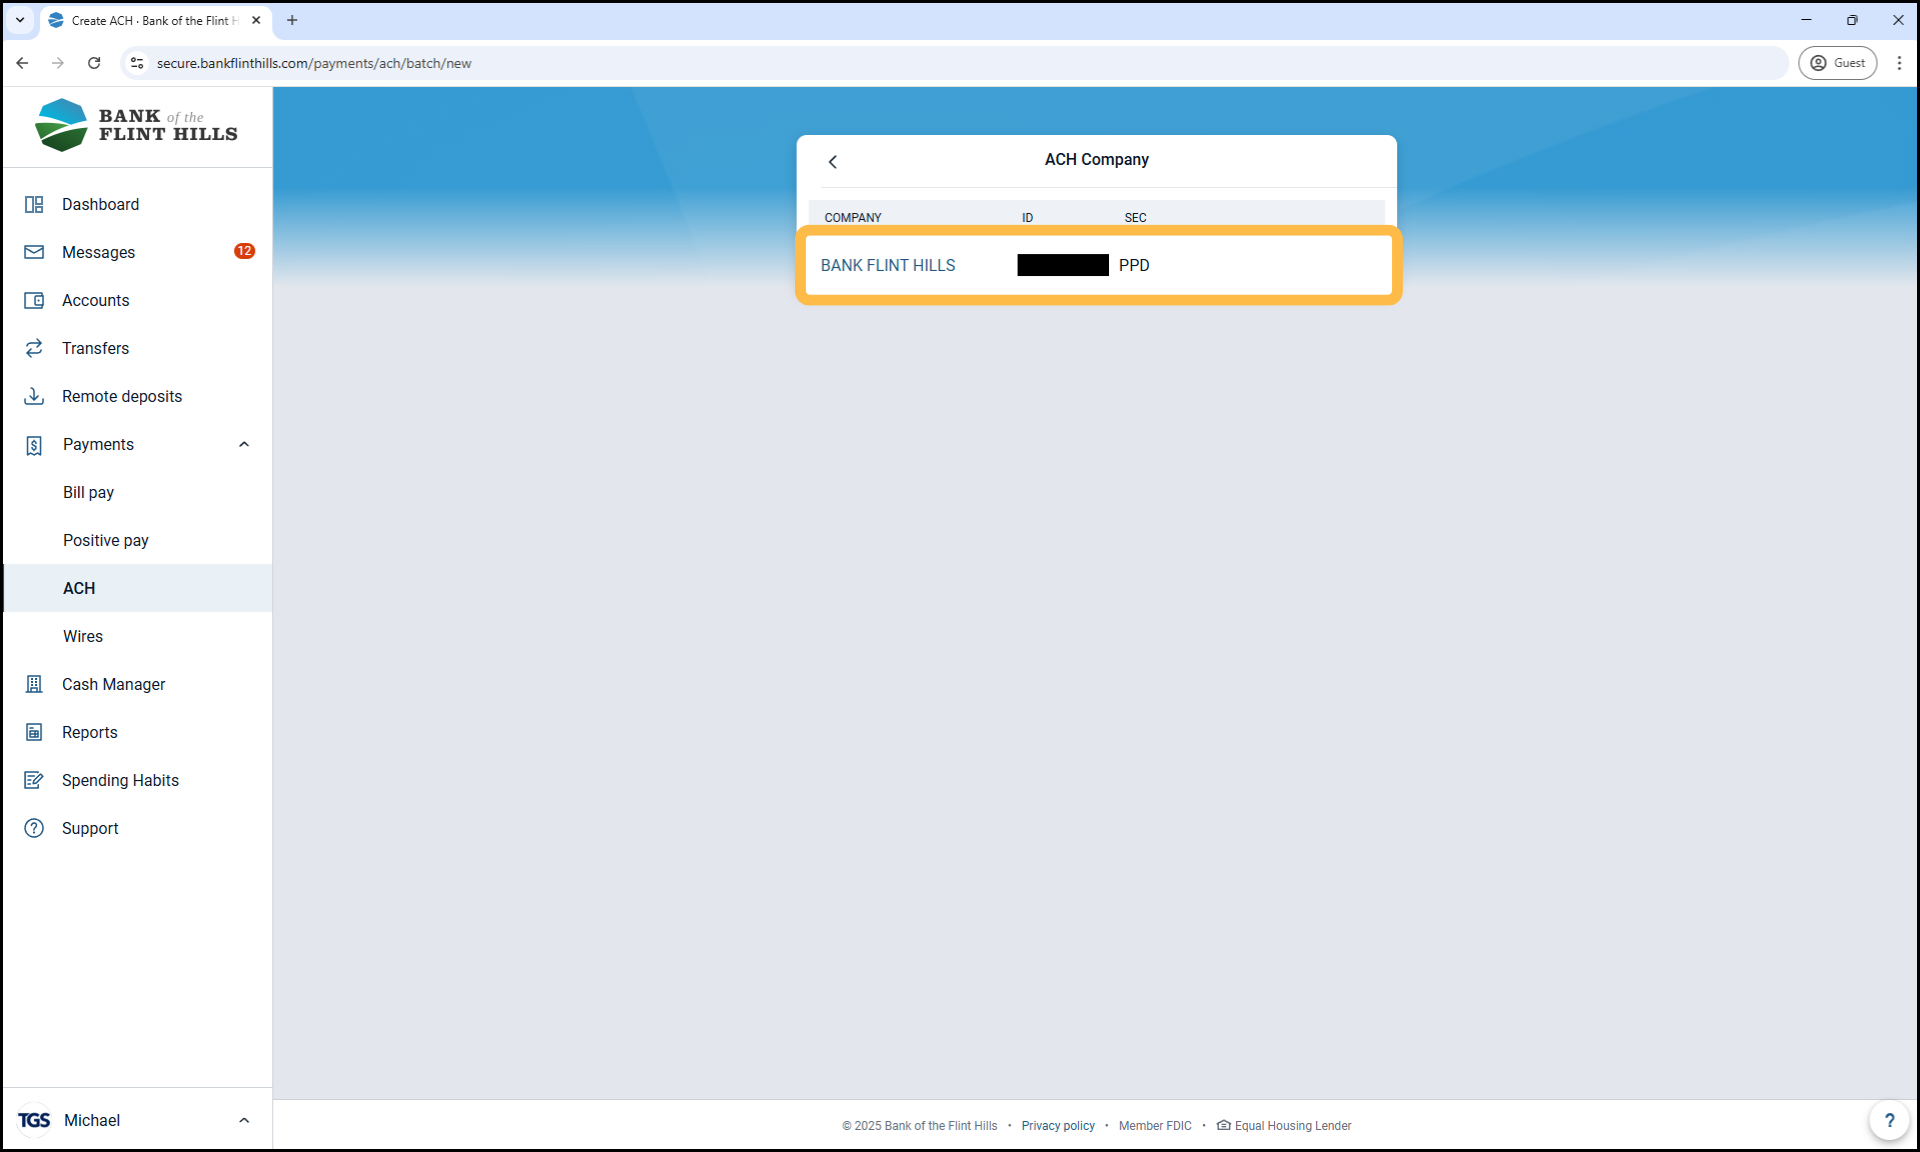
The Company ID will auto-fill based on your company selection. Do not modify this value.
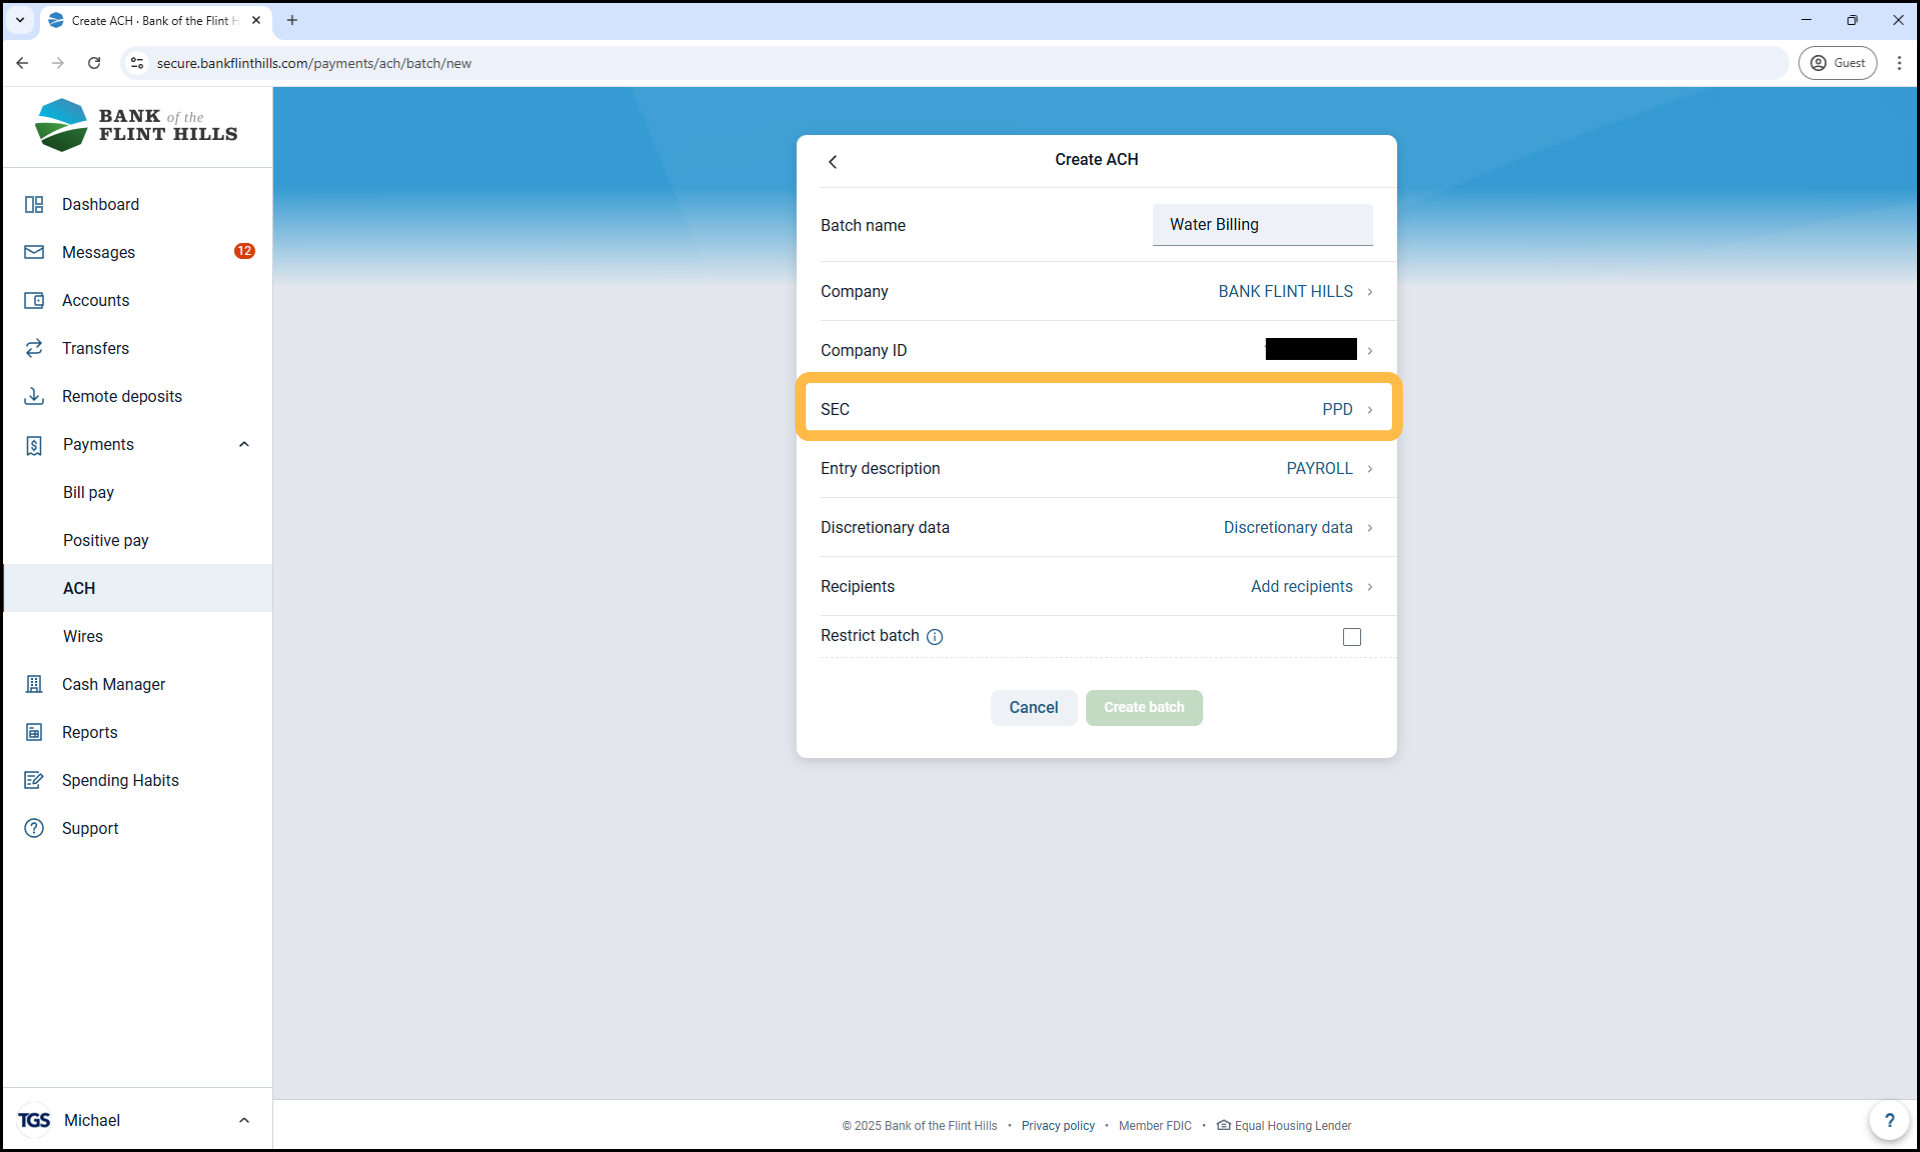
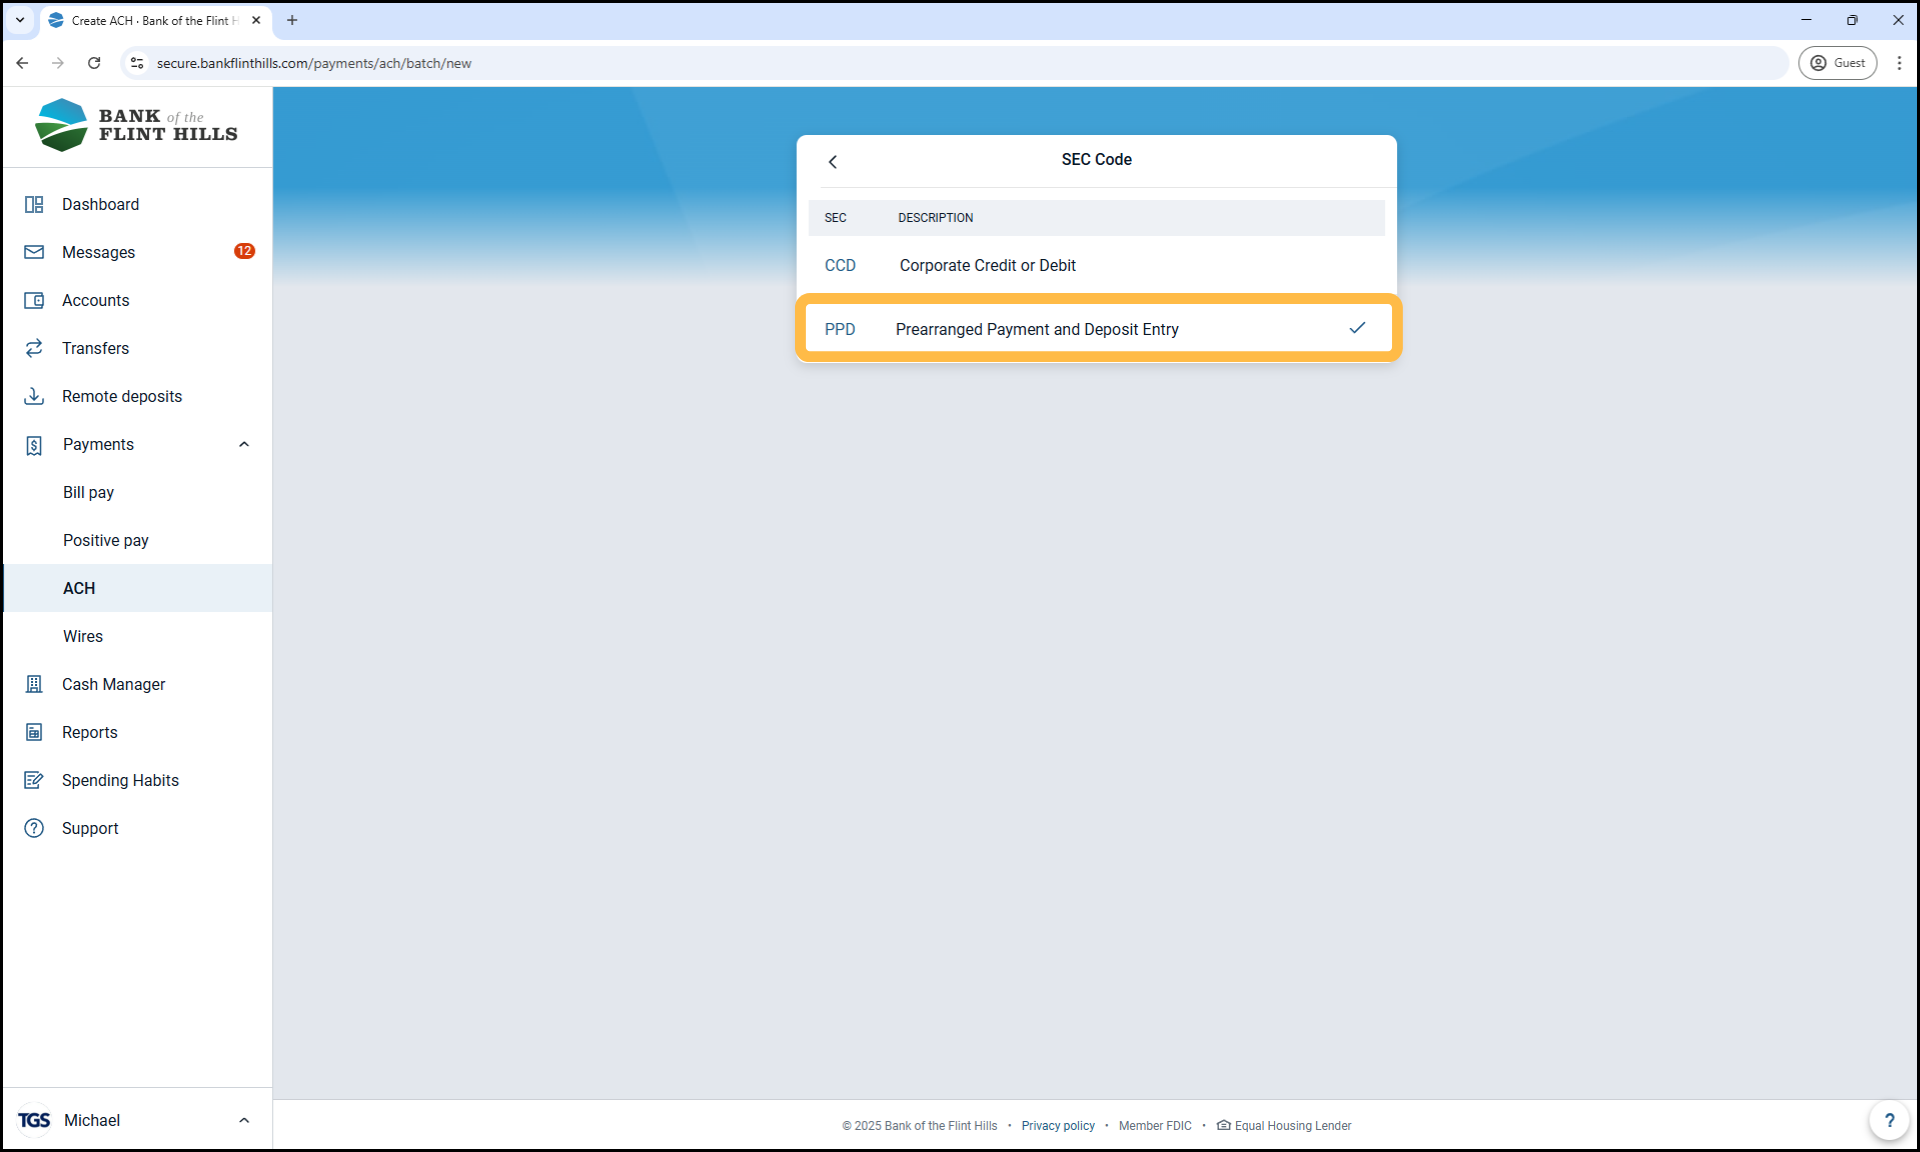
5. Select the SEC Code
Choose the correct SEC Code for your batch:
CCD – Use for business-to-business transactions
PPD – Use for transactions involving personal accounts (e.g., payroll, rent collection)
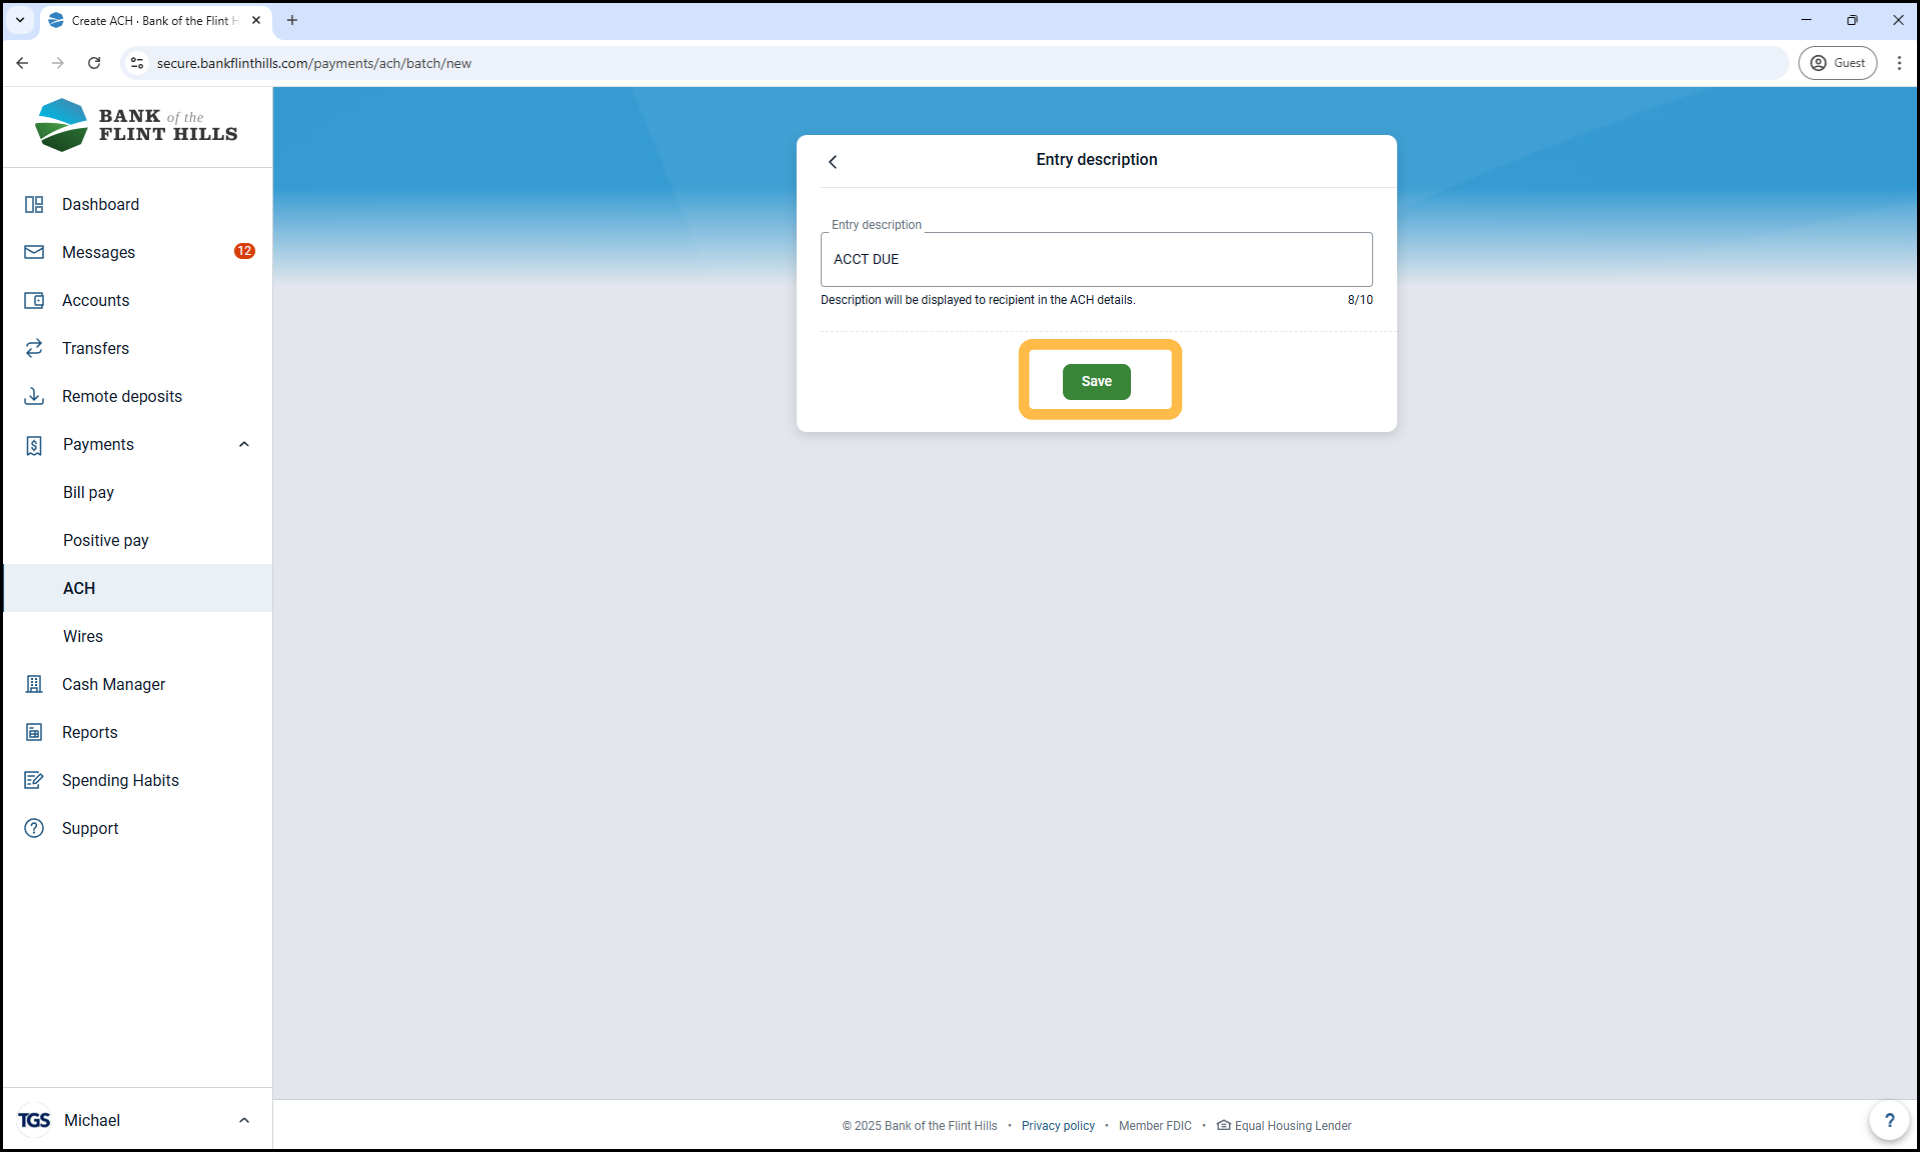
6. Review and Update the Entry Description (Optional)
You can update the batch description to something more specific or meaningful for internal tracking.

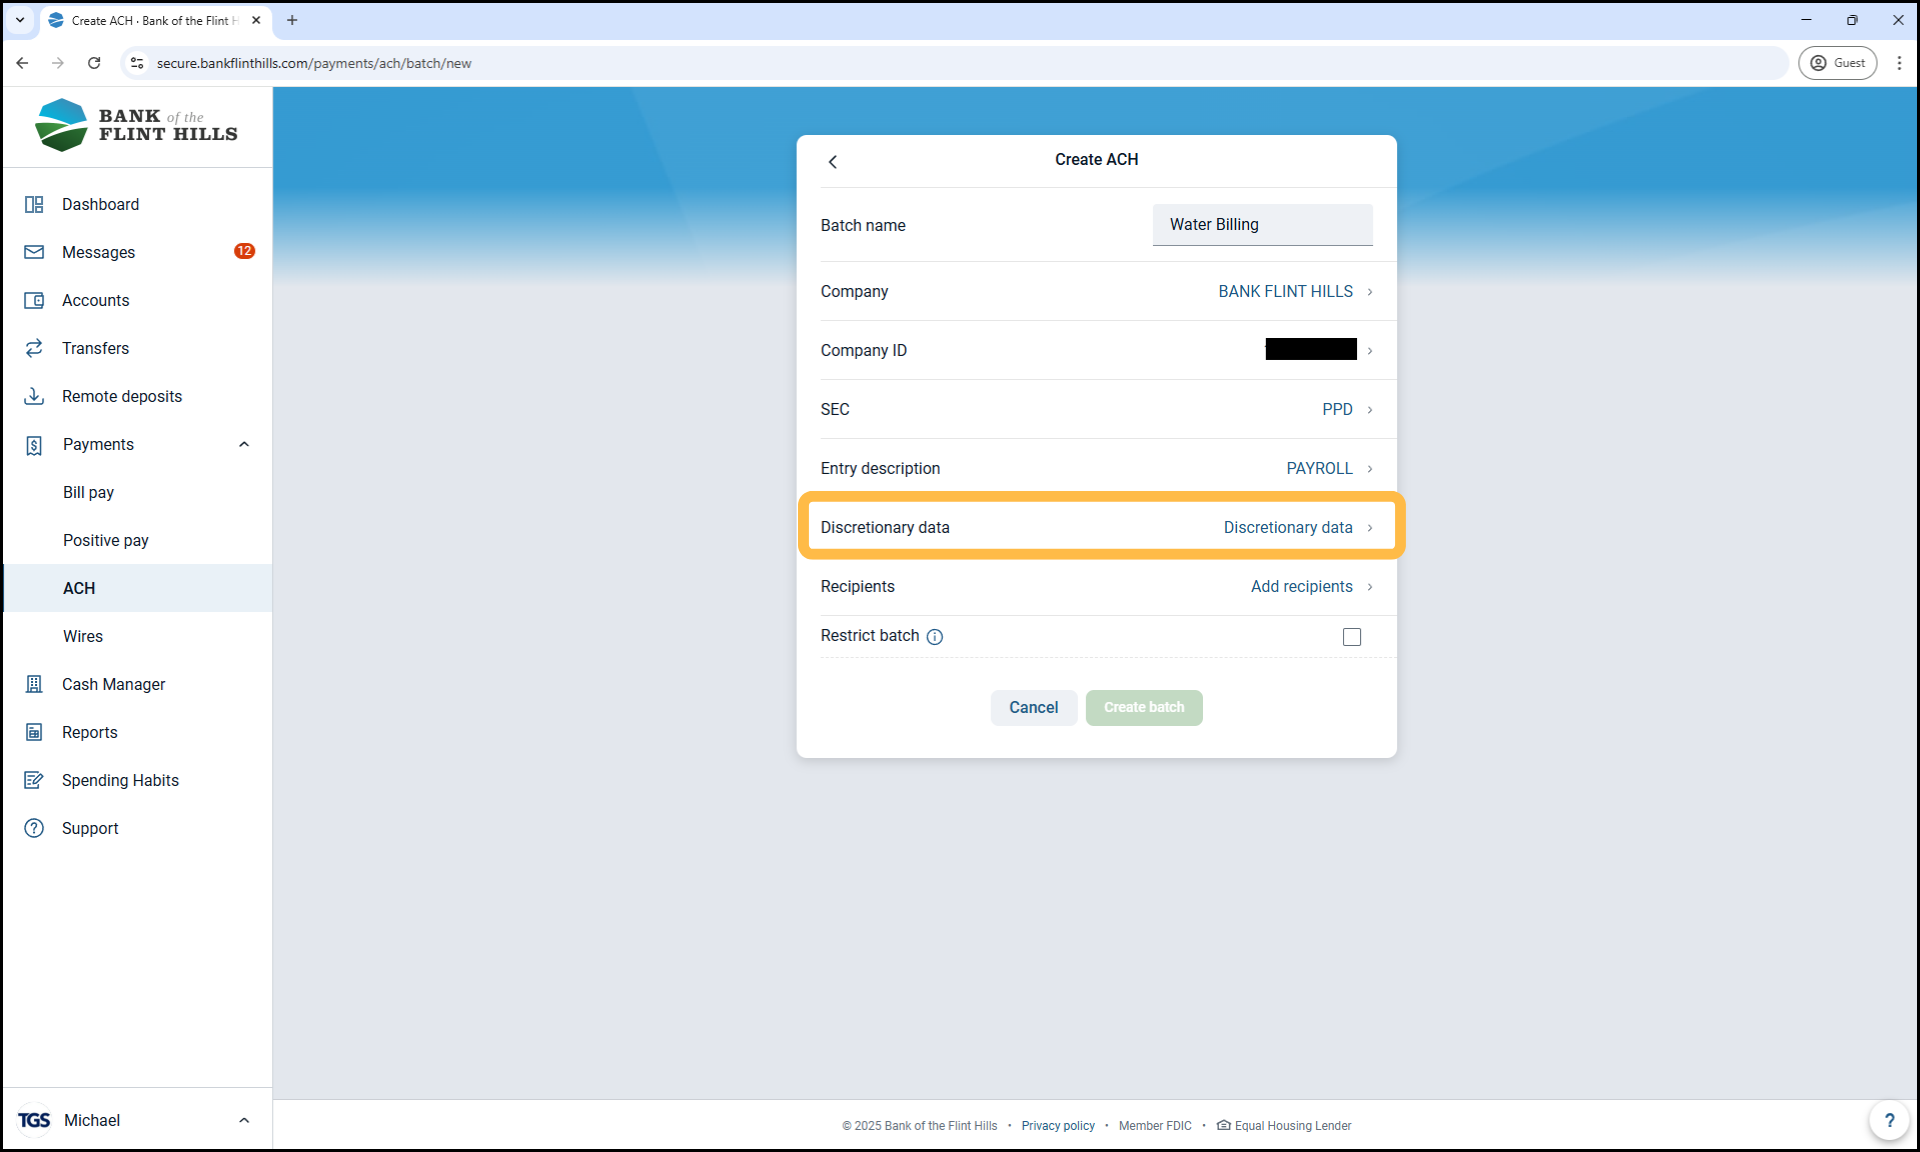
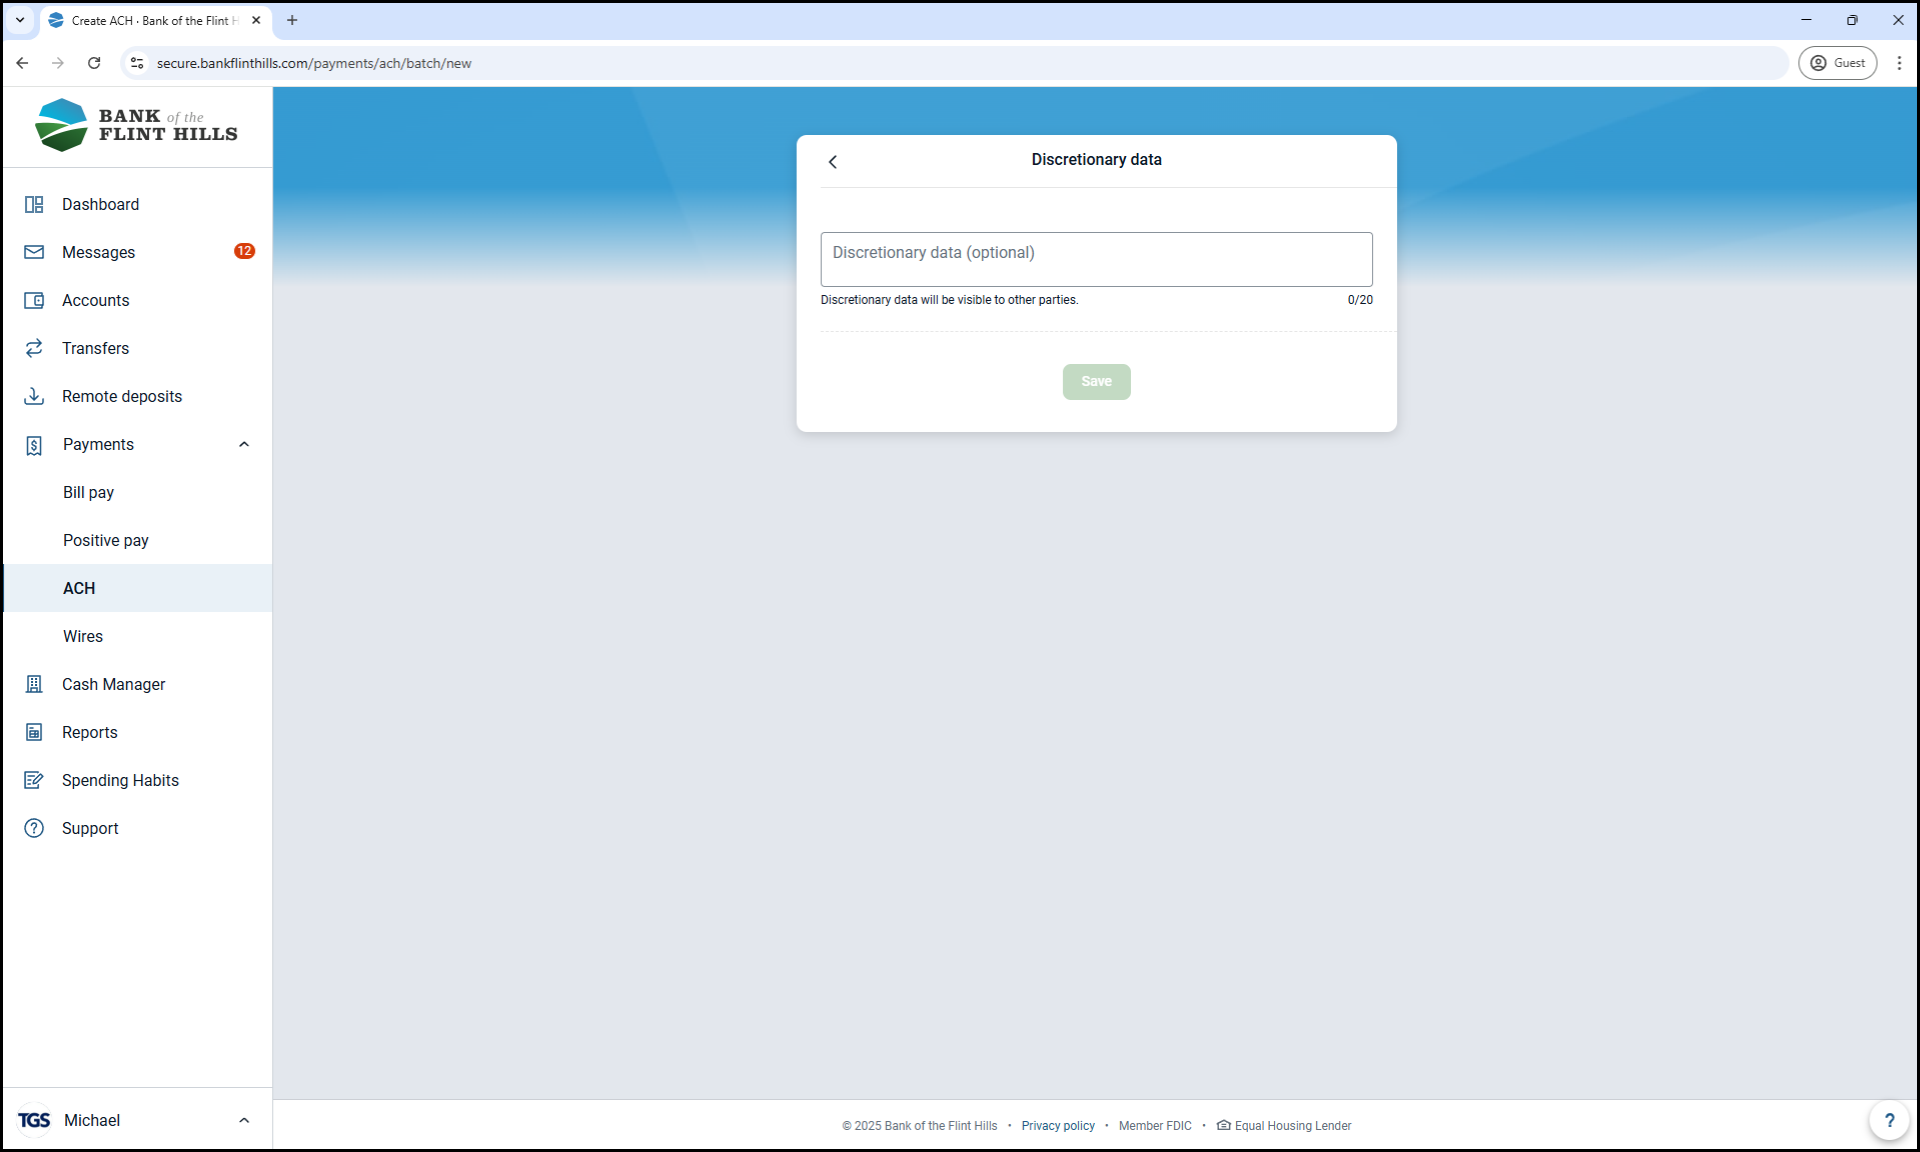
7. Add Discretionary Data (Optional)
This field can be used to include internal notes or additional information for your business records.
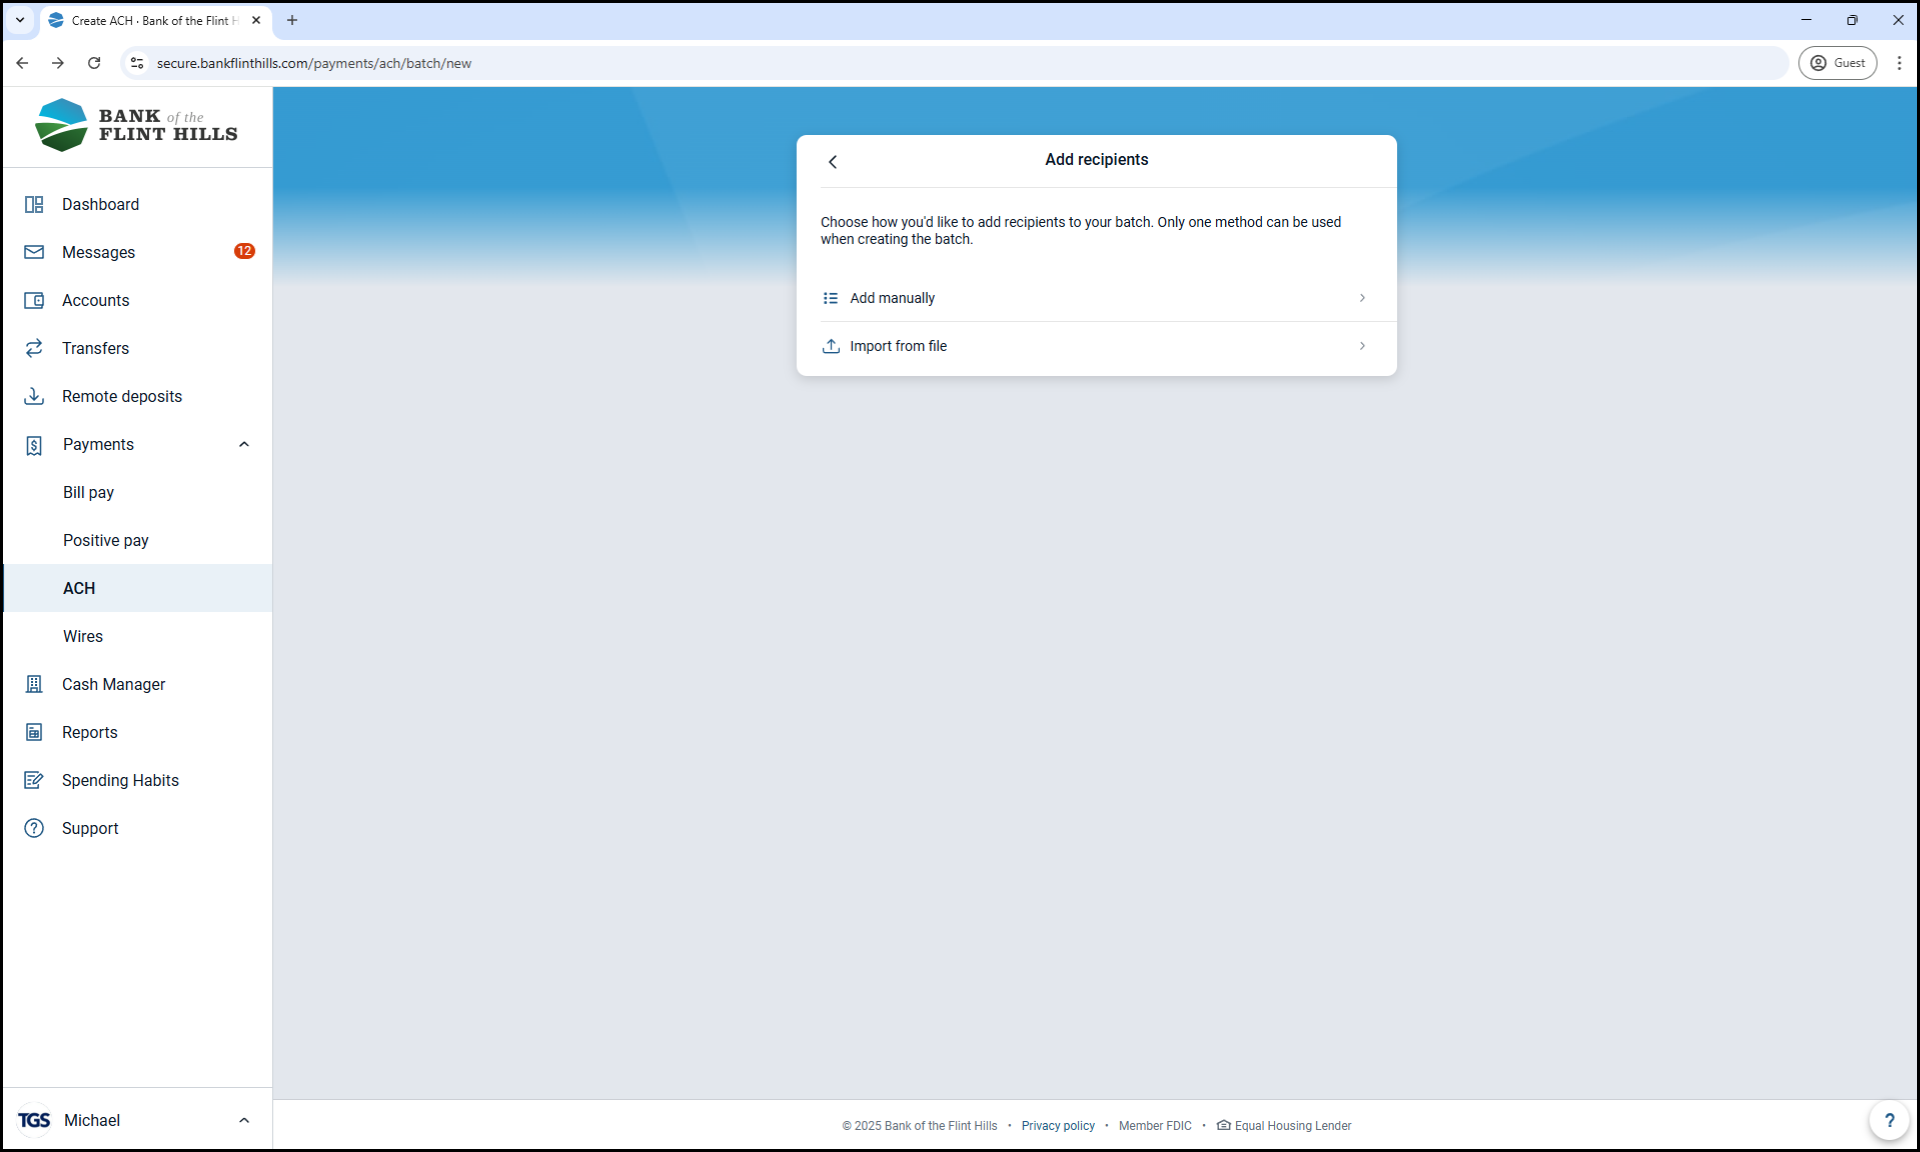
8. Add Recipients
There are two ways to add recipients to your batch. If you have a NACHA file created by another system, you may choose 'Import from file' to complete this step. Otherwise, select 'Add Manually' to input your batch recipients.
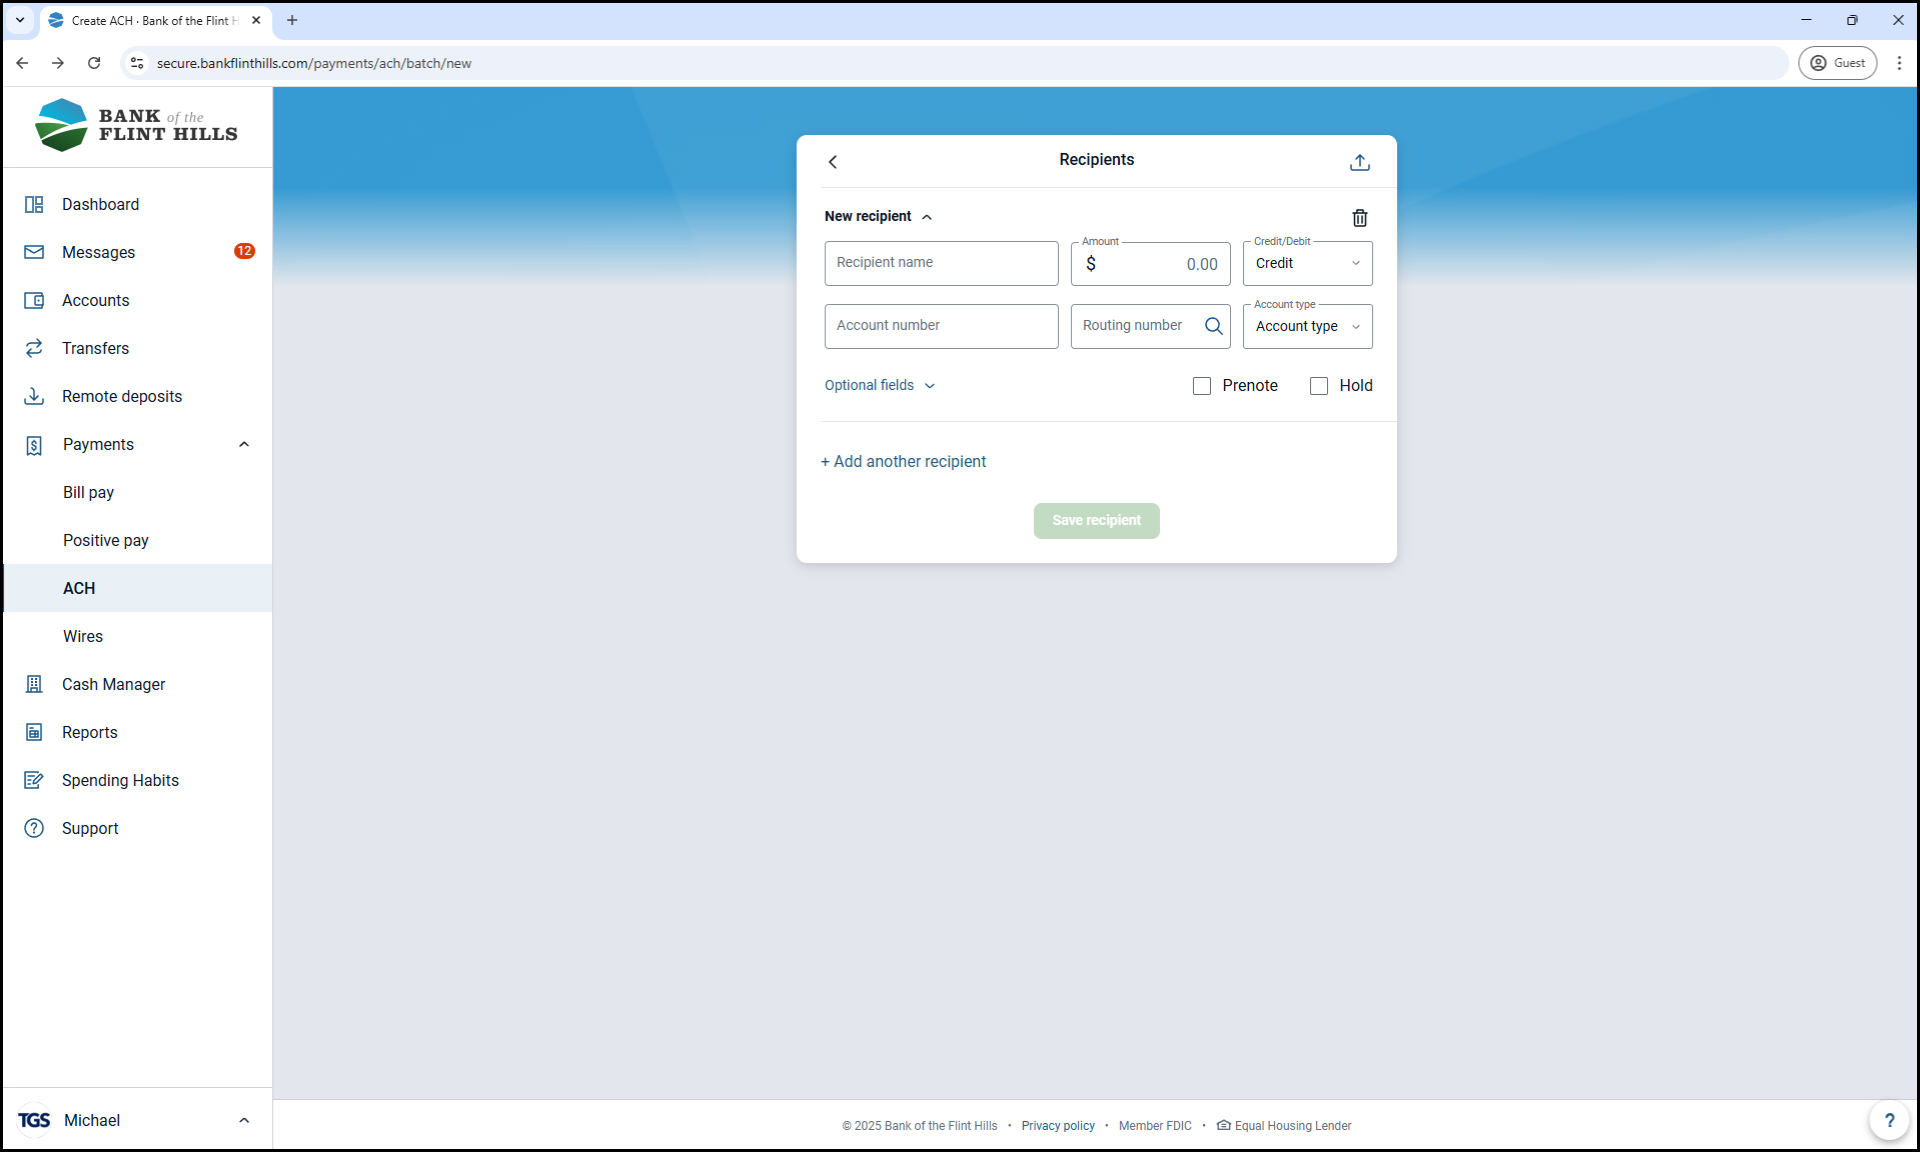
Fill out the recipient information as needed.
Required Fields:
Recipient Name': Full name of the individual or business
Amount: Dollar amount of the transaction
Credit/Debit: Choose whether to:
Credit – Deposit funds into their account
Debit – Withdraw funds from their account
Account Number: The recipient’s account number
Routing Number: The recipient’s bank routing number
Account Type: Identify the account as 'Checking', 'Savings', 'Loan', or 'GL'
Optional Fields:
ID Number: Useful for employee/customer IDs in large batches
Addenda: Additional information to include with the transaction
Prenote: Select this to send a $0 test transaction before actual funds are sent
Hold: Use this to exclude a record from the batch while keeping it saved for later
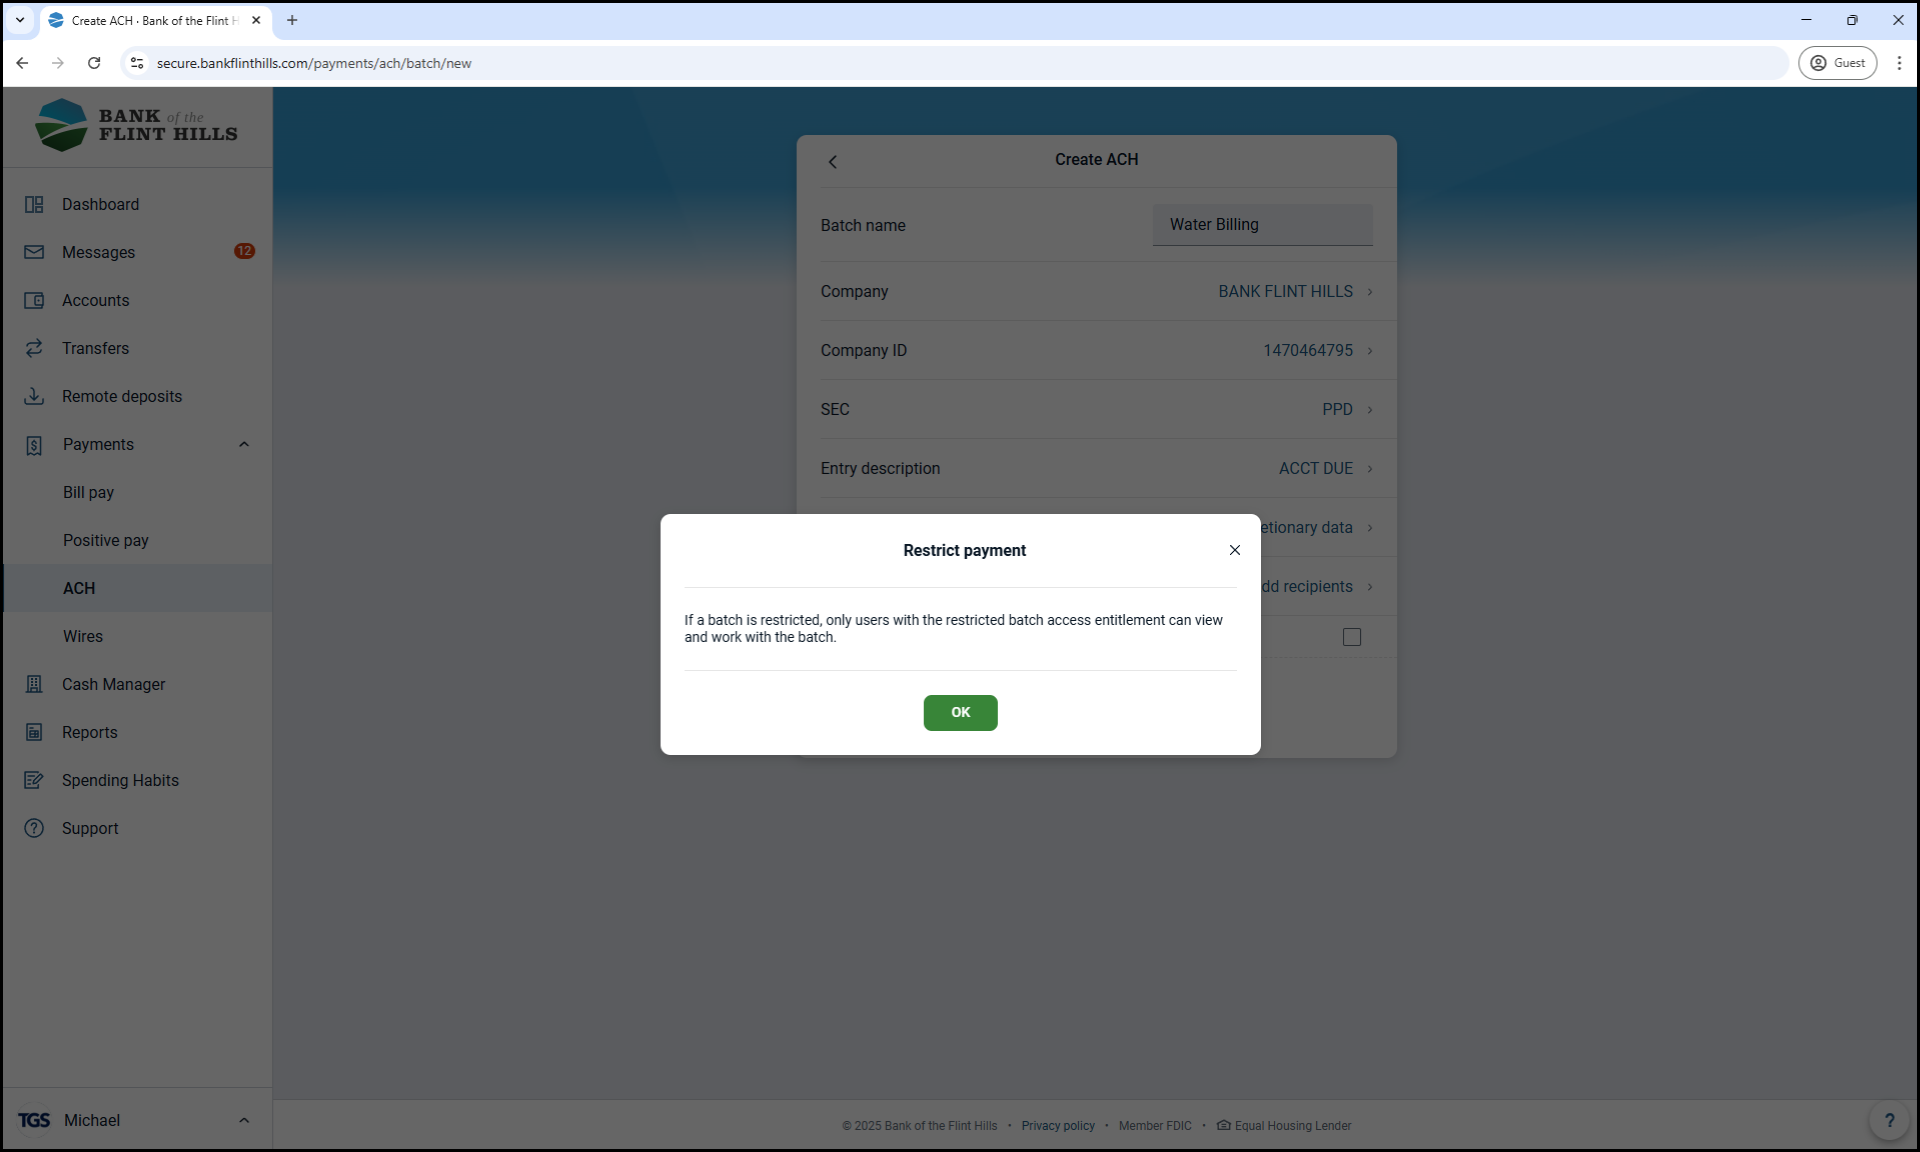
9. (Optional) Mark the Batch as Restricted
If you have the necessary permissions, you can mark the batch as 'Restricted'. This will hide it from users who are not authorized to view restricted batches.
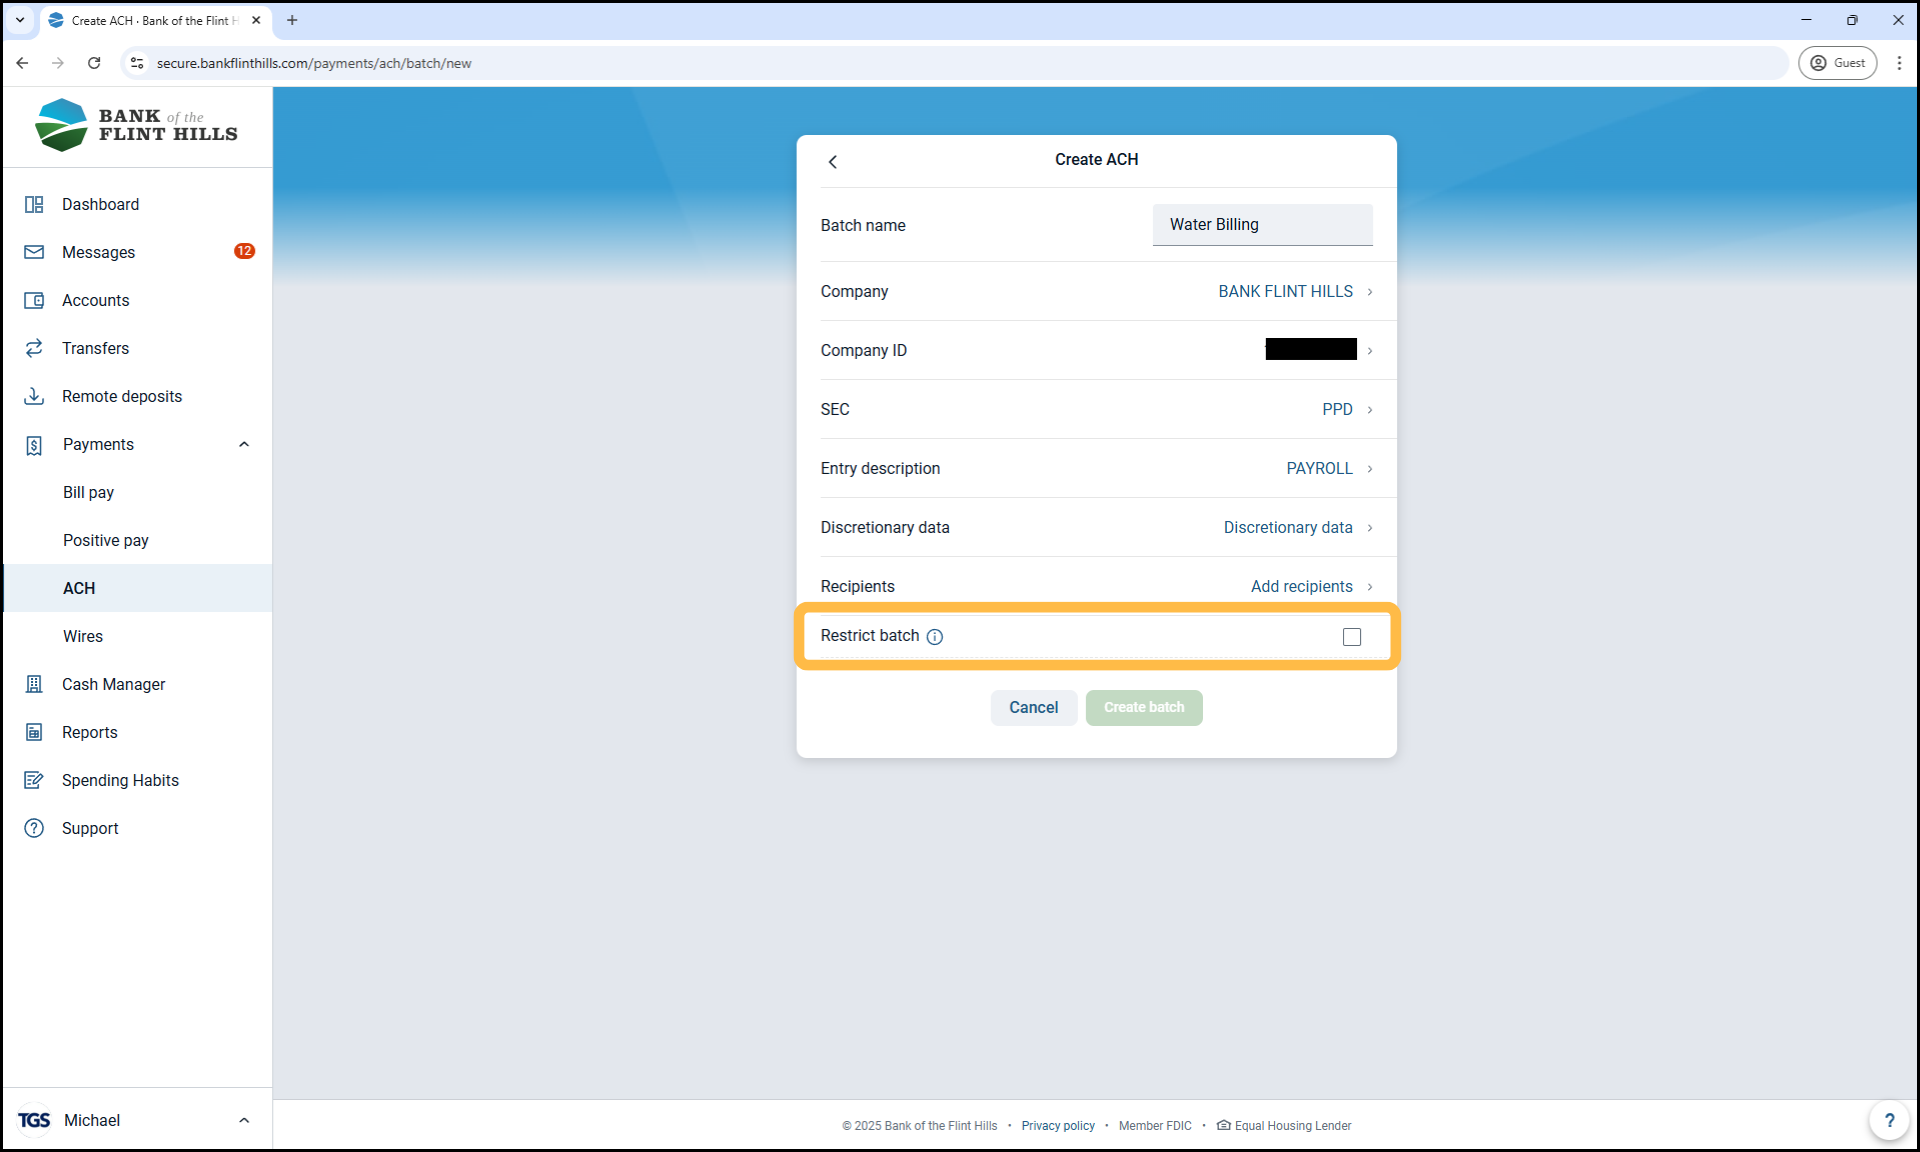
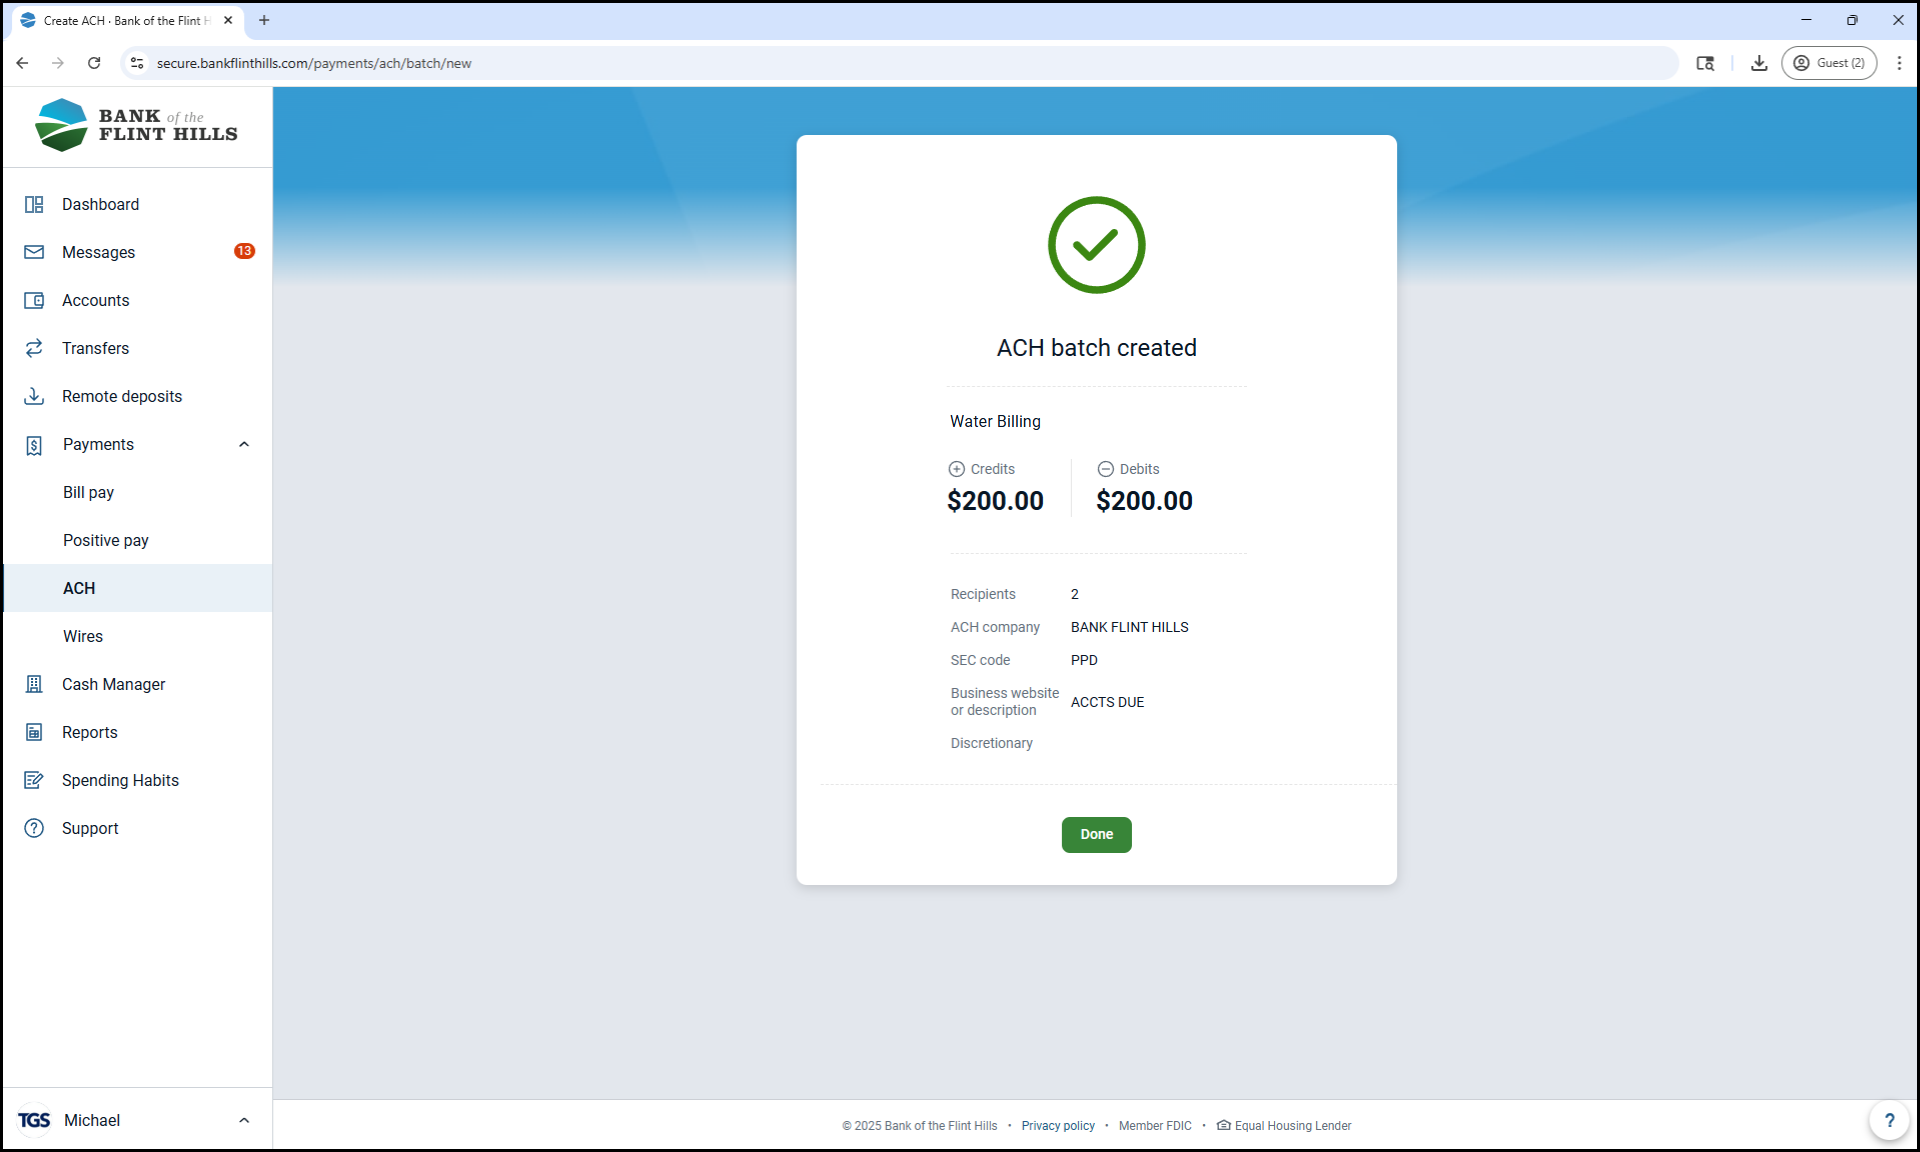
10. Click 'Create Batch'
This saves your batch and adds it to your ACH batch list for future use or initiation.